Logo
ARROW B2BContact Us

CREATE: TIC-TAC-TOE BOARD WITH STORAGE

By SERENA APPIAH


GETTING STARTED

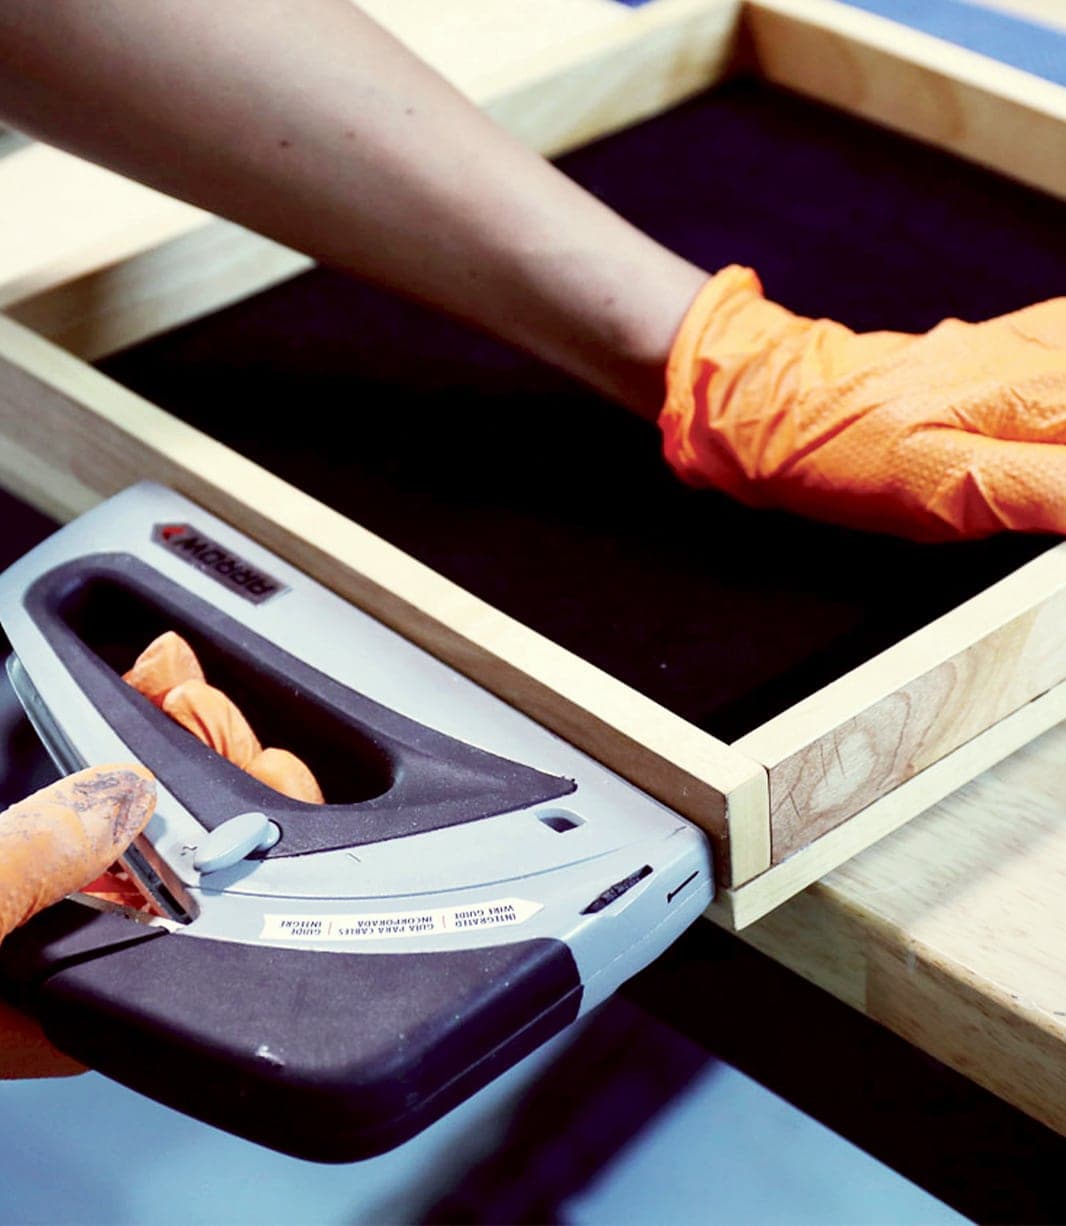
What’s your tic-tac-toe strategy? Aiming for the corners? Always going second? Either way, you can become a tic-tac-toe pro with this fun summer project. So toss out your pens and scrap paper, and let’s get to work on this wooden game board. For this DIY tic-tac-toe board, you’ll need your Arrow T50 Elite™ staple gun and brad nailer and your Arrow GT300 professional high-temp glue gun.

YOU WILL NEED

T50RED2

Staple Gun and Brad Nailer
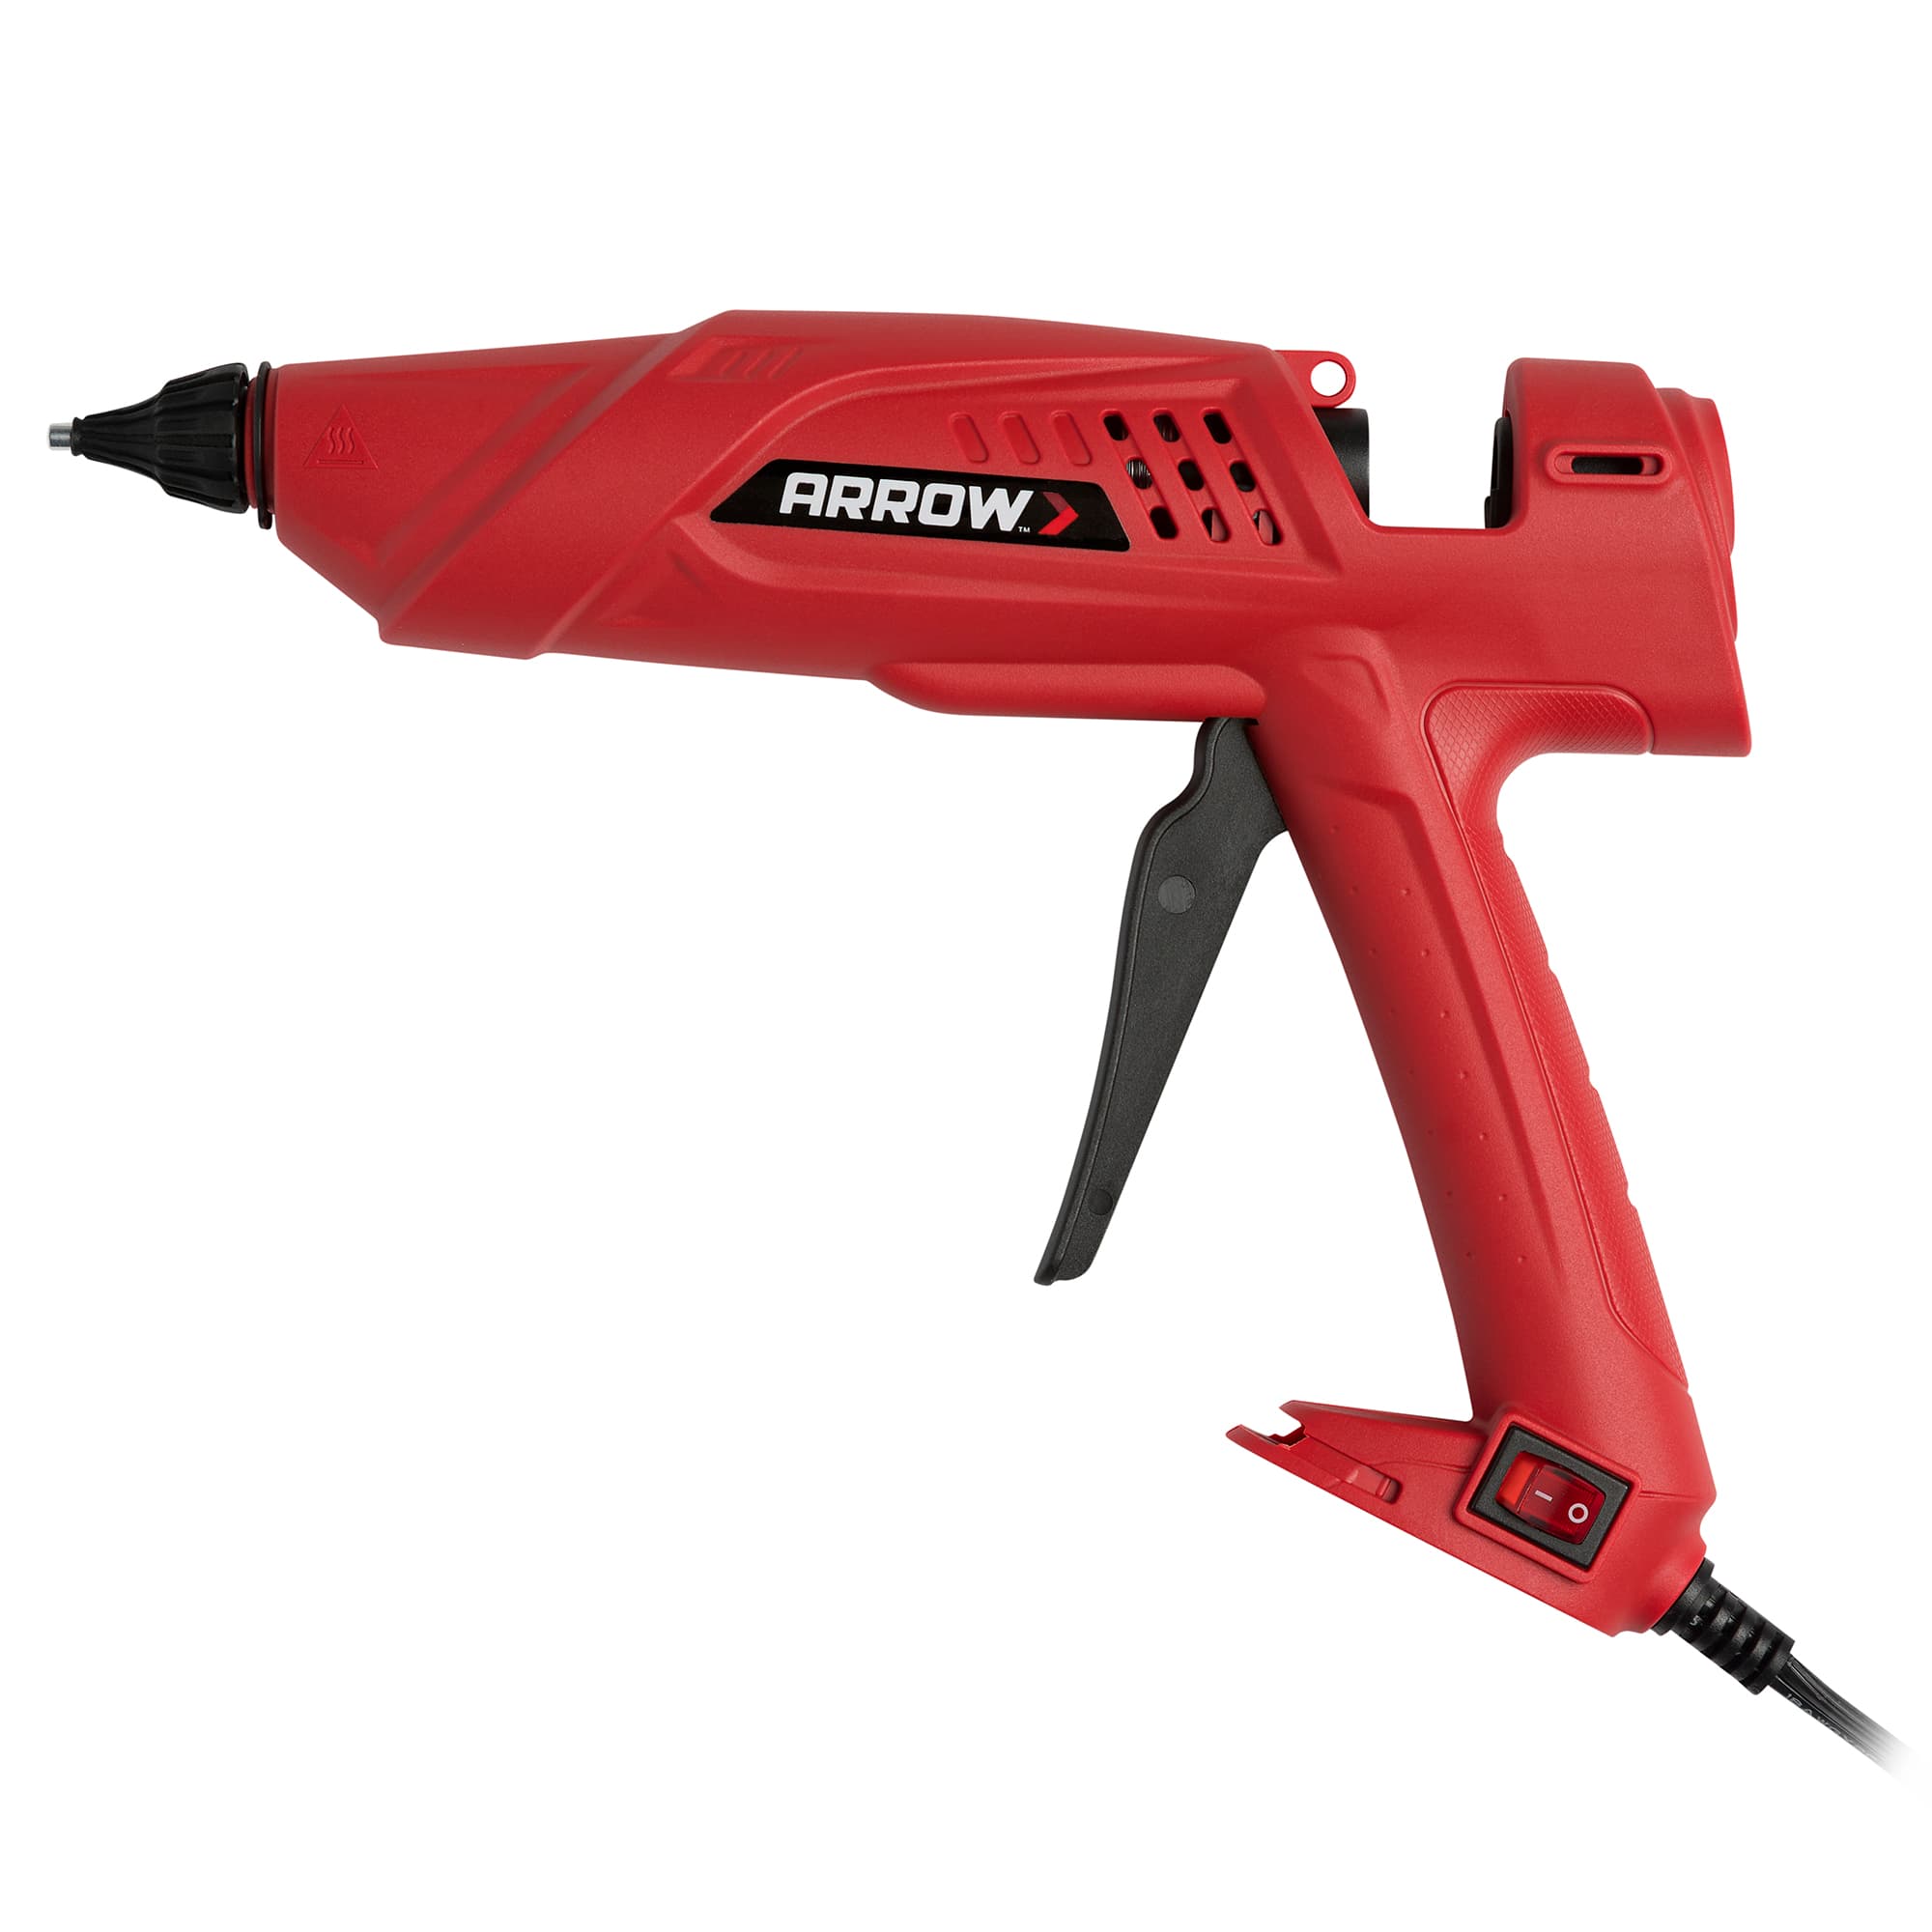
GT300

Professional High-Temp Glue Gun

PROJECT VIDEO

START BUILDING


STEP 1

First, use your jigsaw or scroll saw to cut your birch plywood to the following measurements:


Game board


(1) 12″ x 12″ top panel (game board)

(2) 13″ x 1 ⅜” pieces for the front and back

(2) 11″ x 1 ⅜” side pieces

Storage box


(1) 11″ x 11″ box bottom

(2) 12″ x 5 ¼” pieces for the front and back

(2) 11″ x 5 ¼” side pieces

(1) 11″ x 4 ¾” longer center partition

(2) 7 ⅛” x 4 ¾” shorter center partitions

(1) 3 ⅜” x 4 ¾” small partition


STEP 2

To create the game pieces, cover the scrap wood or plywood with painter’s tape. Use spray adhesive to adhere the Xs and Os from the template to the tape. This step is so you can easily remove the paper Xs and Os without damaging the wood or leaving residue behind. Then using your jigsaw and scroll blade or scroll saw, cut out the game pieces and smooth the edges with sandpaper.

STEP 3


Time for fun and games! For the tic-tac-toe game board, use your tape measure to create a quarter-inch-thick grid out of painter’s tape at the 4″ and 8″ marks on the 12″ x 12″ top panel. Be sure to press down firmly on the tape to ensure a tight seal, which will keep the paint from bleeding through. Then use craft paint and a foam brush to paint the first half of your game board grid.


Once the paint is dry, peel off your tape and create two identical grid marks horizontally at the 4″ and 8″ points on the square, completing the grid of nine squares like a classic tic-tac-toe game.


STEP 4

If you would like to create a contrast between the Xs and Os, stain only the Xs, then allow them to fully dry. Since this game board can travel anywhere, you need to protect it from the elements! Apply a couple of layers of topcoat or finishing oil to the exterior sides of the game board and storage box, then wipe off. Repeat this step to finish all of the other wood pieces.


STEP 5

Now it’s up to you if you want to get fancy! Before putting all the parts together, cut and apply the velvet flocking to the interior sides of the pieces that will make up the storage box, including the partitions and the underside of the 12″ x 12″ top panel. Leave about ½” of wood around the perimeter of the underside of the lid and storage box for a better fit. To ensure a stronger hold, use your GT300 professional high-temp glue gun to secure the flocking. Use a utility knife to trim the excess flocking from the pieces of wood.


STEP 6

With the velvet flocking in place, start constructing the inside partitions. Use your GT300 professional high-temp glue gun to hold the partitions in place, and then use the T50RED2 staple gun and brad nailer to reinforce them from the opposite side.


STEP 7

Time to construct the lid. Use your GT300 professional high-temp glue gun to glue the sides of the lid in place. Then use your T50RED2 staple gun and brad nailer to secure the lid with 1″ brad nails. Use a hammer to set the brad nails flush with the wood.


STEP 8

Now let’s put it all together. Make sure that the body of the storage box forms clean right angles and nail the sides together using the T50RED2 staple gun and brad nailer. Then insert the partitions and nail them in place from the bottom.


STEP 9

Once the framed pegboard is securely in place, it’s time to decorate! Additional pegboard hooks can be purchased from home improvement stores or online. This is the perfect time to put your own special touch on the project.

STEP 9

Finally, attach your hinges, lock, and handle and fill with your favorite snacks so you can hit the beach, the park, or even your backyard!


FINISHED PRODUCT

This project is the perfect picnic companion. With plenty of storage for snacks and drinks, you can stay and play all day.


We’d love to see your DIY tic-tac-toe board! Share your work with us on Facebook and Instagram by tagging @ArrowFastener or using #MadeWithArrow.


ABOUT THE AUTHOR


Serena Appiah

Serena Appiah is the owner, publisher, and artist behind Thrift Diving, a blog that inspires home enthusiasts to decorate, improve, and maintain their home on a do-it-yourself budget. Her mission is to inspire people to be creative and to gain the confidence, motivation, and skills they need to not just start a project, but to finish it using paint, power tools, and thrift stores.

WANT TO BE A FEATURED ARROW BLOGGER?

We’d love to hear from you! If you would like to be an Arrow Project Partner and contribute future posts here, contact us at

projects@arrowfastener.com

We look forward to hearing from you!