DIY: TAPESTRY FRAME PROJECT
By CHELSEA AT MAKING MANZANITA

GETTING STARTED
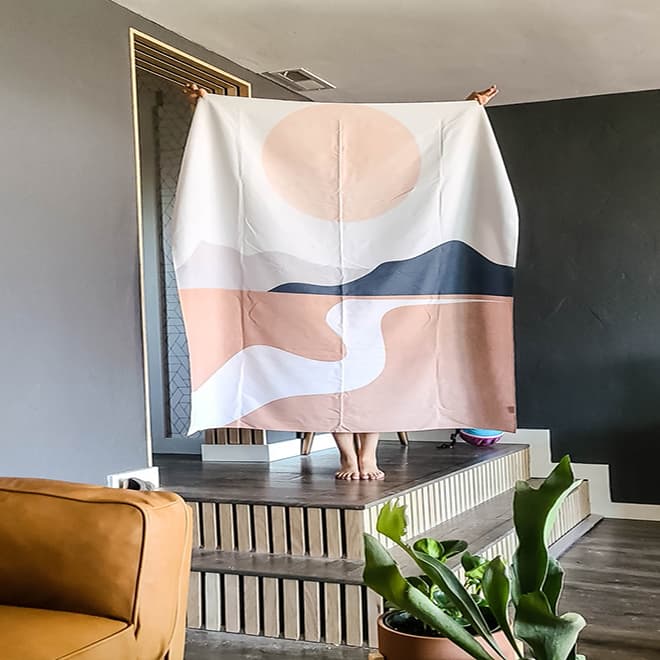
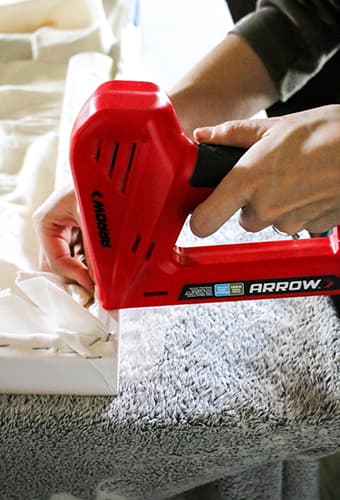
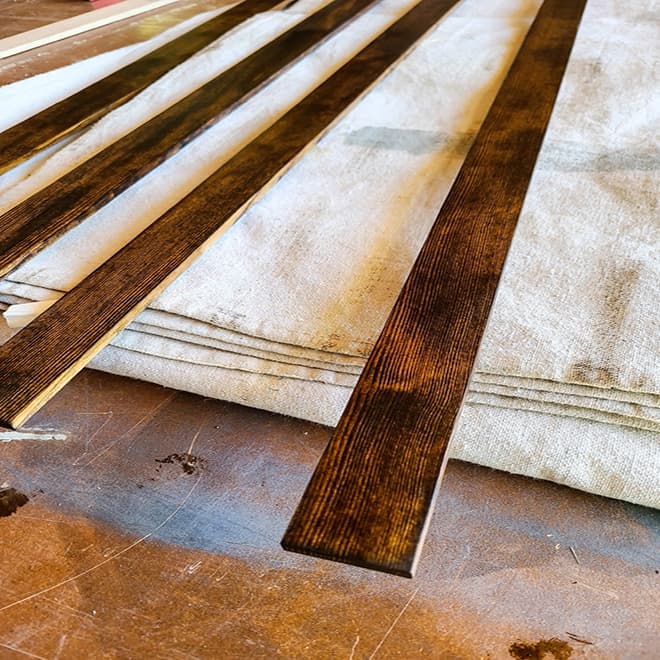
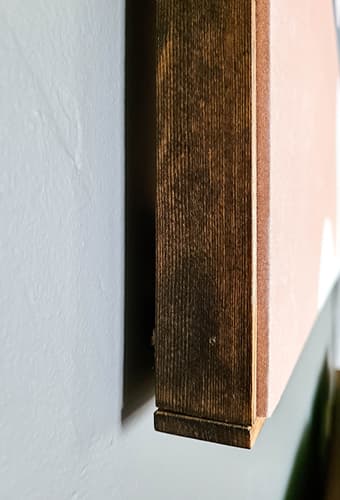
If your bedroom or living room could use some wall art, then this DIY tapestry frame may be just what you’re looking for! It’s also a great way to add a little modern boho touch to any space. Head to Etsy or Society6 to choose the perfect tapestry to match your taste,and then grab your Arrow PT18G pneumatic brad nailer and Arrow T50ACN electric stapler and nailer. Let’s get to work!
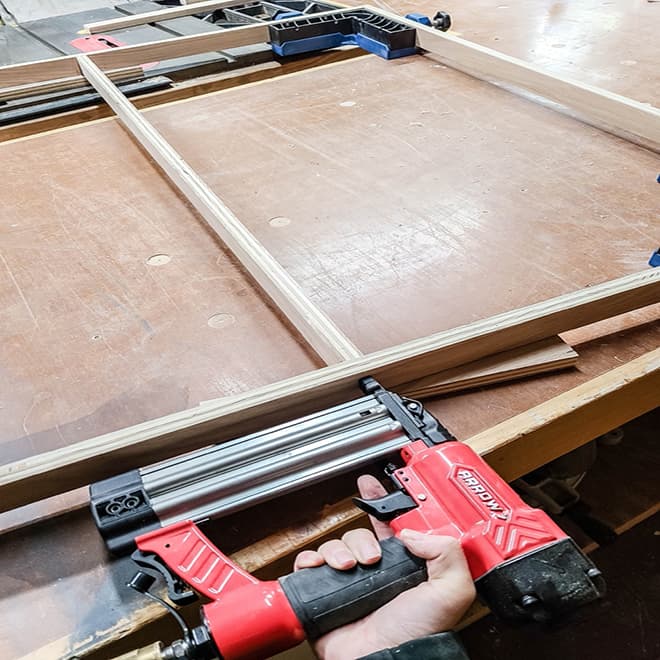
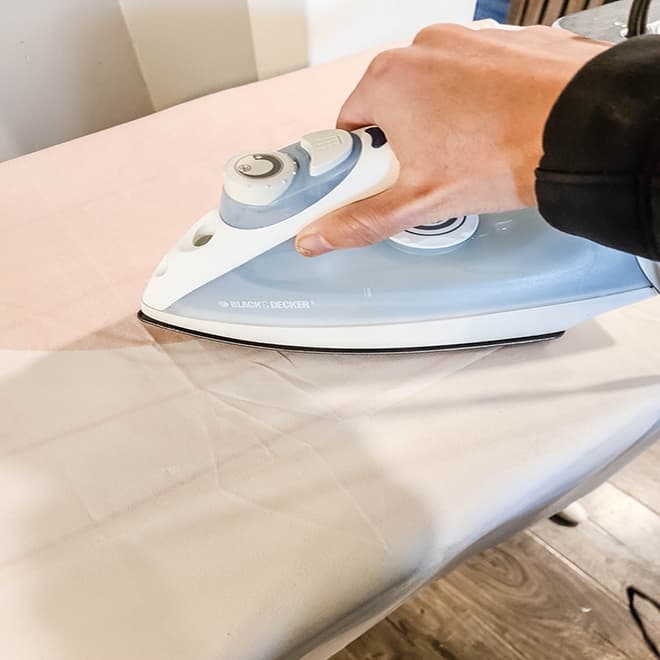
YOU WILL NEED
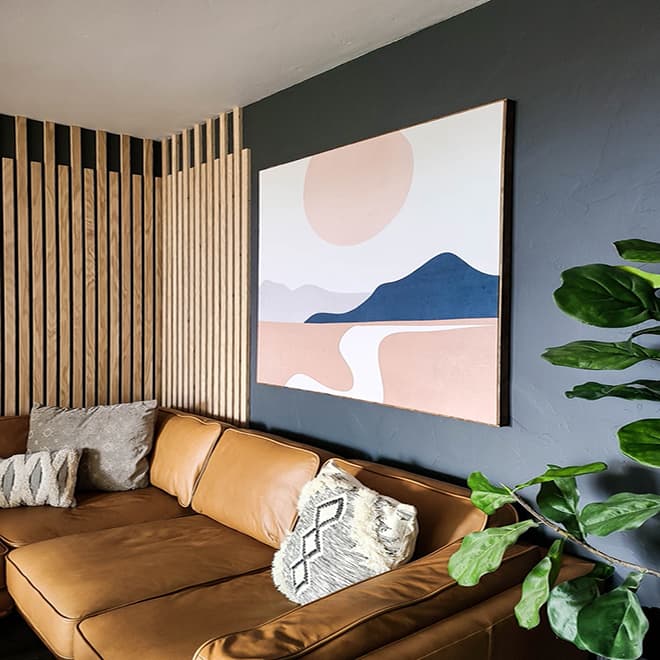
FINISHED PRODUCT
ABOUT THE AUTHOR
WANT TO BE A FEATURED ARROW BLOGGER?
.jpg&w=3840&q=75)
.jpg&w=3840&q=75)