DIY: VINTAGE-STYLE VELVET BENCH
By SAM RAIMONDI
GETTING STARTED
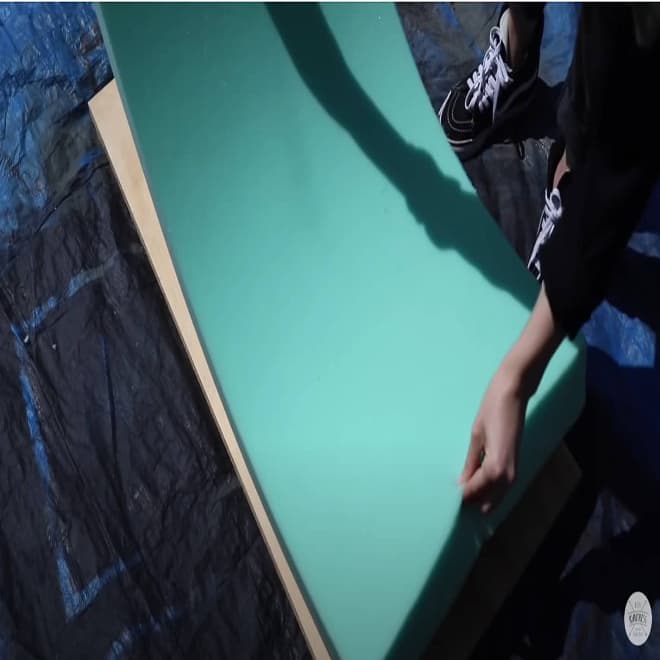
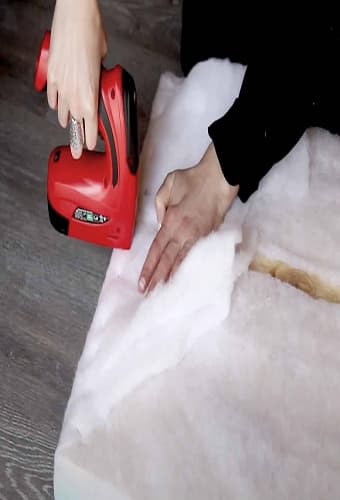
Creating custom furniture doesn’t have to be complicated! This easy DIY vintage-style velvet bench will add a touch of chic to any living space. Grab your Arrow E21 cordless electric staple gun and GT30Li cordless glue gun and let’s get to work!
YOU WILL NEED


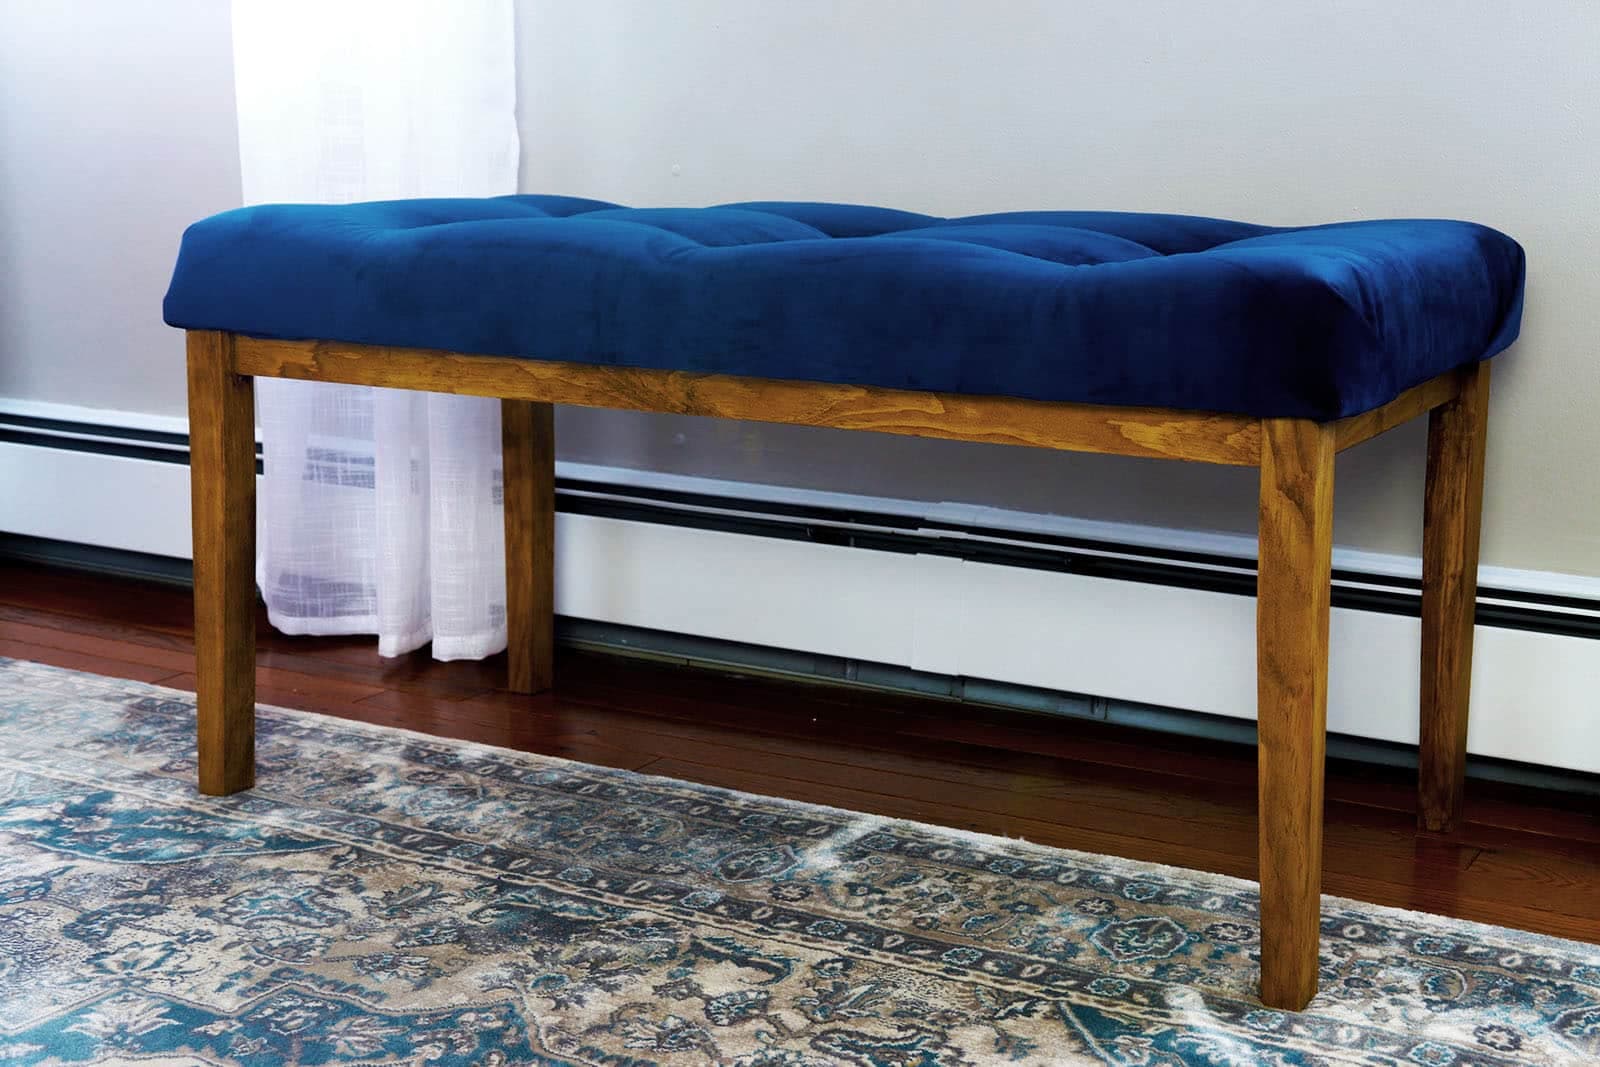
FINISHED PRODUCT
Share your work with us on Facebook and Instagram by tagging @ArrowFastener or using #MadeWithArrow.
ABOUT THE AUTHOR
Sam Raimondi
Sam Raimondi from DIY Huntress is a full-time psychologist and side-hustling content creator who shares woodworking plans and home improvement ideas on a budget!