This is a test
Test blog post
By Test Man

Hello there, this is a test
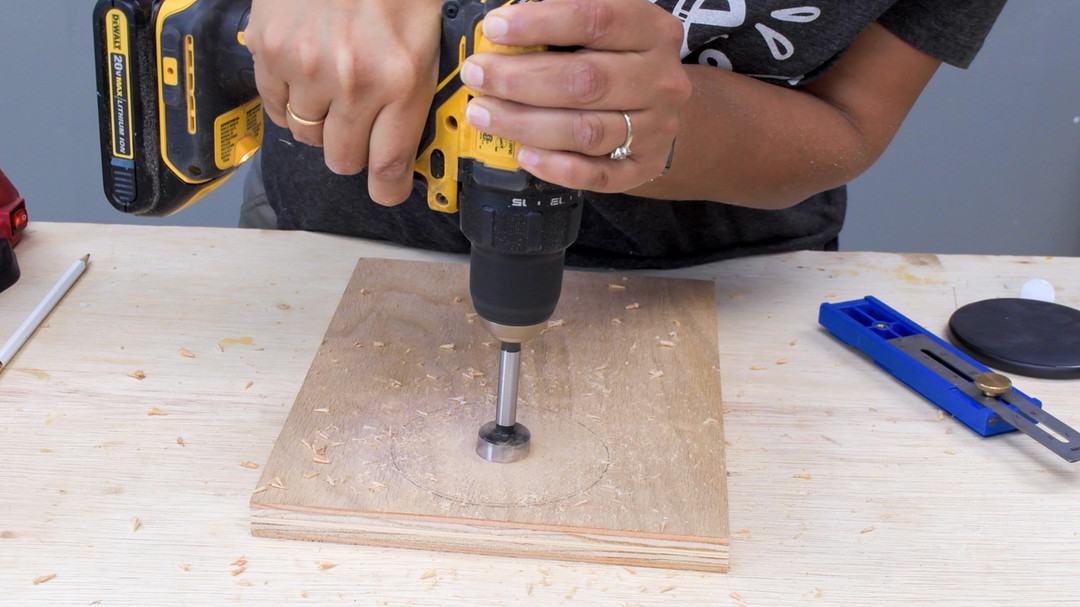
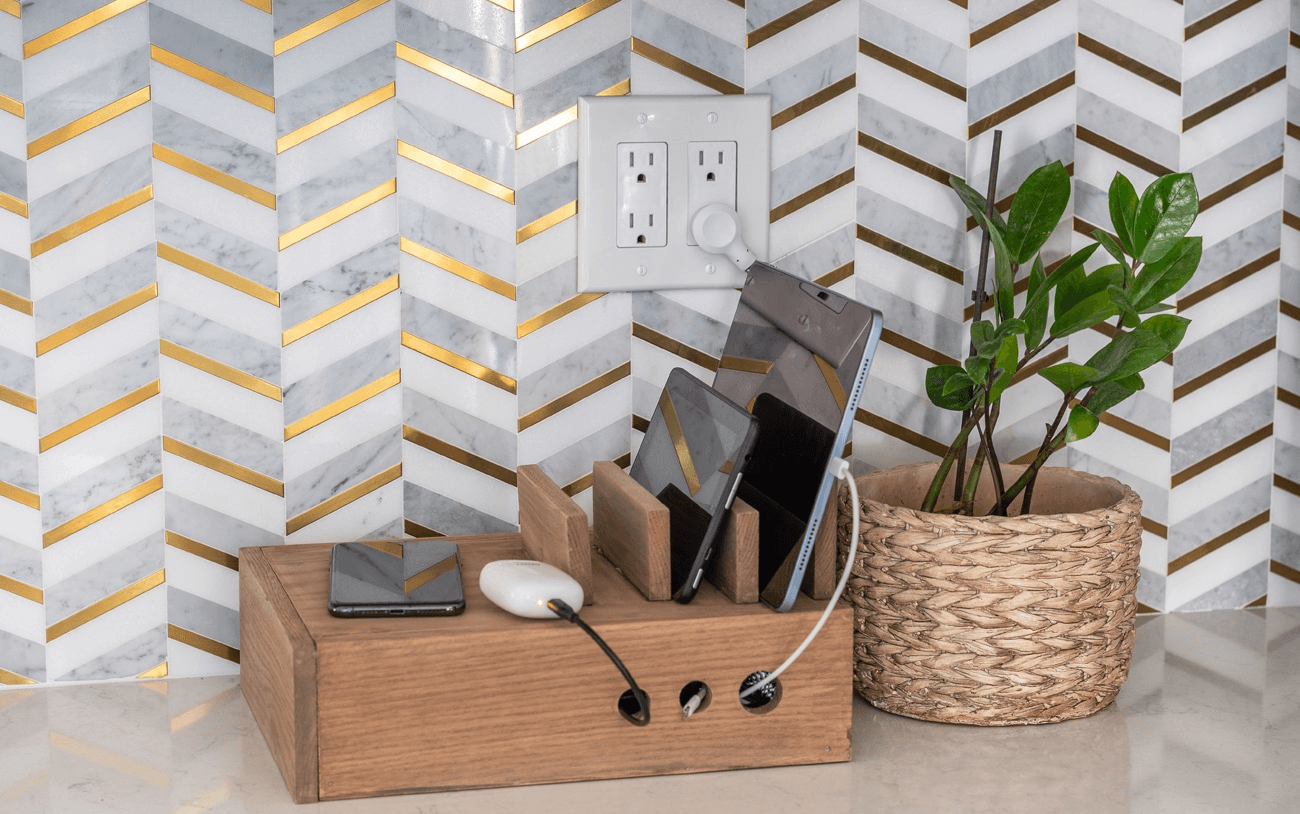
If "has anyone seen my charger?" is a frequently asked question in yourhousehold, then you’ve come to the right place! This DIY charging station is a convenient way to organize and keep track of all those unsightly wires and cords. We customized our station with a wireless charger and slots for two phones and one tablet. Grab your Arrow GT300 professional high-temp glue gun and ET200BN professional electric nailer to create your own!


Materials needed
Other Tools
Miter saw or circular saw
Palm router and straight bit
¾" Forstner bit
Materials
Arrow glue sticks
Arrow brad nails
½" x 3 ½" x 3' wood board
½" x 4" x 2' wood board
Quarter sheet of ¾" plywood
14" x ¾" square dowel
Sandpaper
Power strip with USB ports
Wireless charger
Wood stain
START BUILDING
Step 1


Step 1
Start this project by using a miter saw or circular saw to cut your lumber to the following:
(2) Long sides: ½” x 3 ½” at 11 ½” length
(1) Short side: ½” x 3 ½” at 8 ½” length
(1) Table support: ½” x 4″ at 7″ length
(3) Phone supports: ½” x 2″ at 5″ length
(2) Lid: ¾” plywood to 11 ½” x 7 ½”
(4) Lid supports: ¾” square dowels at 3 ½” length
Next, choose one of the long side pieces as your front. On this piece, use the Forstner bit to make three holes for your charging cords to pull through. You will want to make your first hole at least 2″ away from the edge, and then the next two holes ½” apart.


Step 2


Step 2
Next, make the inset for your wireless charger. Measure and mark its exact location on the bottom of the lid, then make a starter hole with the Forstner bit, being careful not to go all the way through the plywood.
Then you will want to set up the straight router bit so that it is at least ⅛” less than the thickness of your plywood and route out the circle for your wireless charger to sit in. You’ll want the plywood between the wireless charger and the phone to be as thin as possible (without compromising the integrity of the plywood) for it to work efficiently.
You may also need to route a little groove on the side of the box to accommodate the connector.
Make sure you test the charger through the plywood to see if it works!


Step 3

Step 3
Now you can sand each piece of the charging box, and if you would like to stain your wood pieces before assembling, you can do that too. To assemble the charging station, attach the three sides to the plywood lid using your Arrow GT300 professional high-temp glue gun to hold the pieces in place, and your Arrow ET200BN professional electric nailer to secure them. The three holes on the long side piece should be opposite to where the space is routed for the wireless charger under the lid.

Final product

Final product
Now you’re all set to power up your DIY charging station! In addition to your paint or stain, you can add fun details like a lightning bolt decal to identify where the wireless charger is located.
We’d love to see how your DIY device charging station turned out! Share your work with us on Facebook and Instagram by tagging @ArrowFastener or using #MadeWithArrow.
