GETTING STARTED
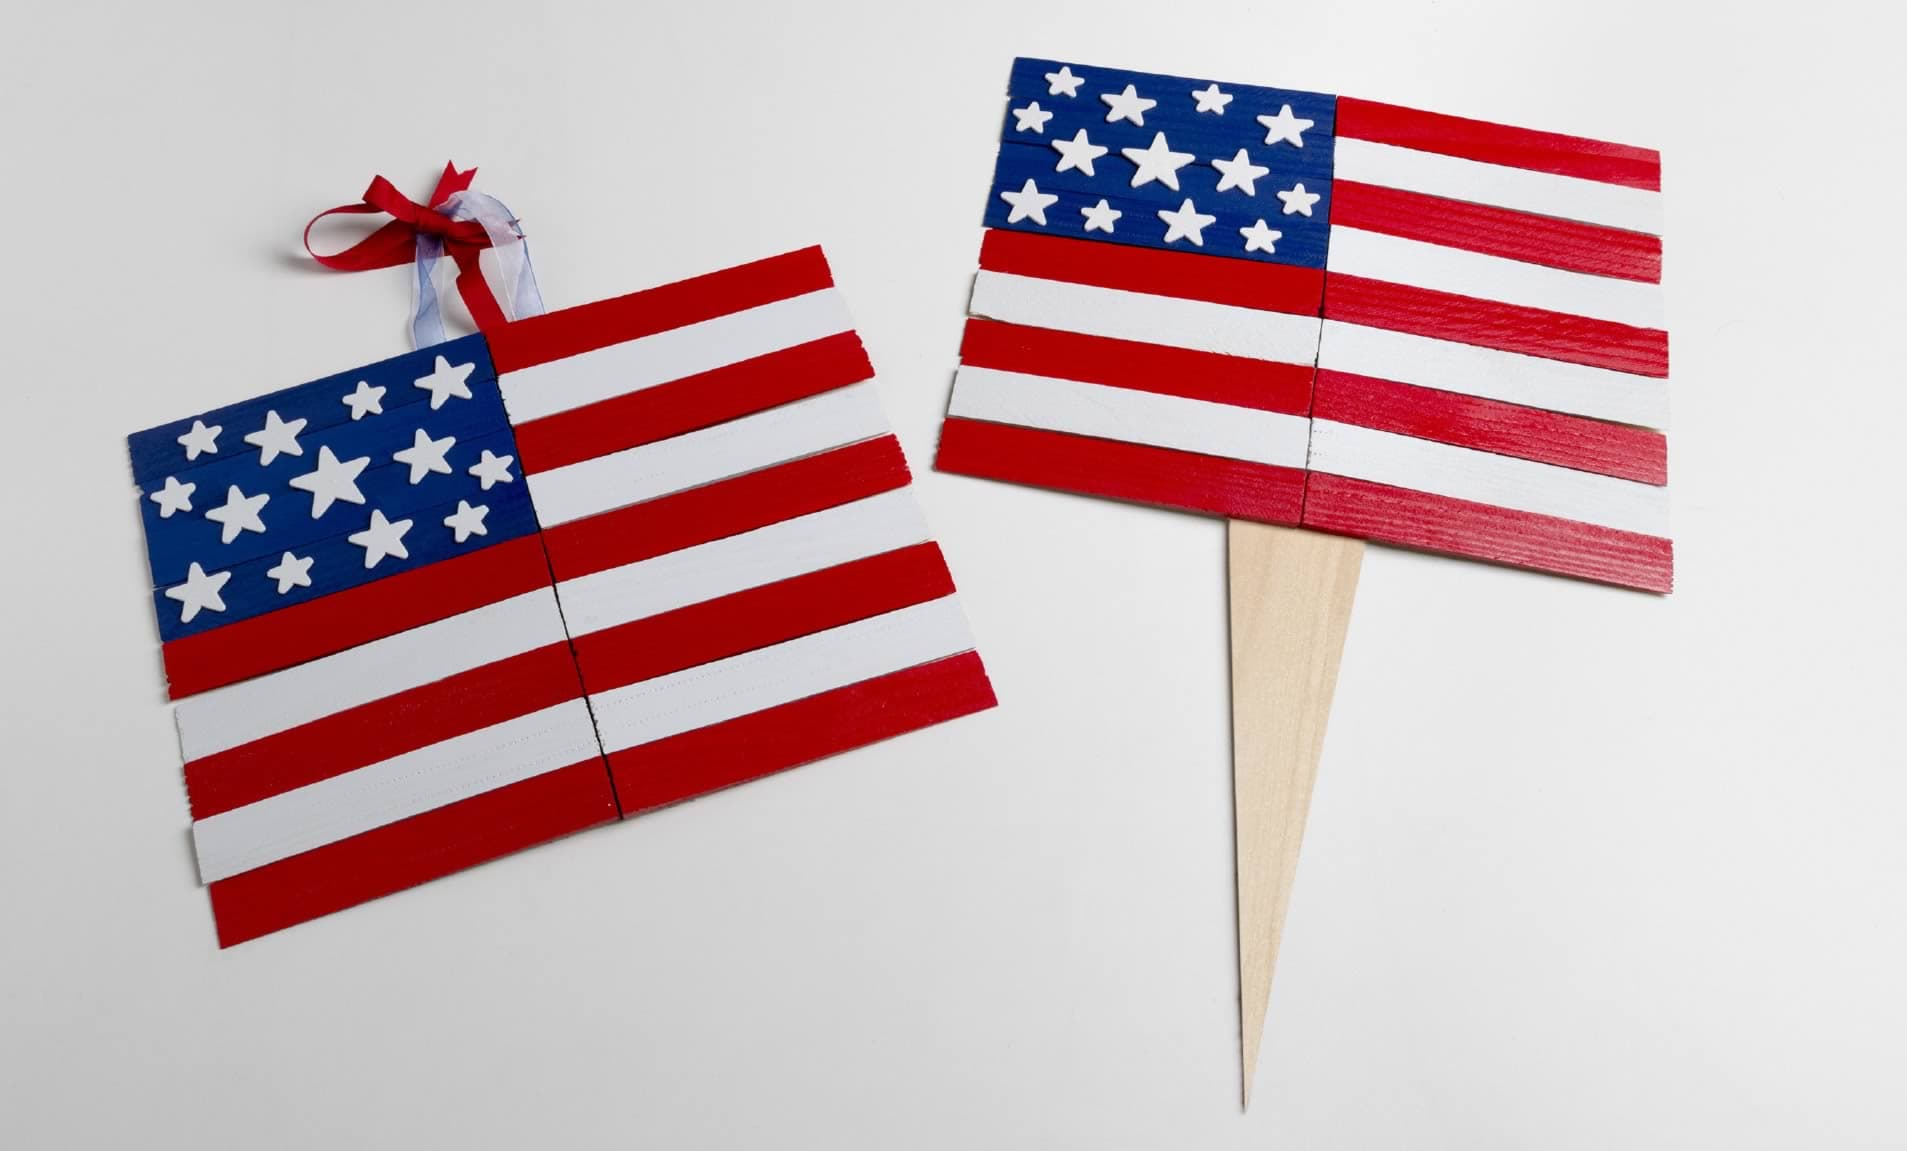
Make your own patriotic flag with this easy DIY project using the Arrow T50 Heavy Duty Staple Gun. We’ve given ordinary wood shims a patriotic purpose and transformed them into Old Glory. This is also a great way to show your patriotic pride. These easy instructions are for a 12” x 16” finished flag, but can easily be modified to create a larger version. Appropriate personal protective equipment such as safety goggles, gloves and hearing protection should be worn at all times.
YOU WILL NEED
STEP 9
Once the framed pegboard is securely in place, it’s time to decorate! Additional pegboard hooks can be purchased from home improvement stores or online. This is the perfect time to put your own special touch on the project.
WANT TO BE A FEATURED ARROW BLOGGER?
We’d love to hear from you! If you would like to be an Arrow Project
Partner and contribute future posts here, contact us at projects@arrowfastener.com
We look forward to hearing from you!
Other Materials Needed
Ruler
Pencil
Arrow Utility knife
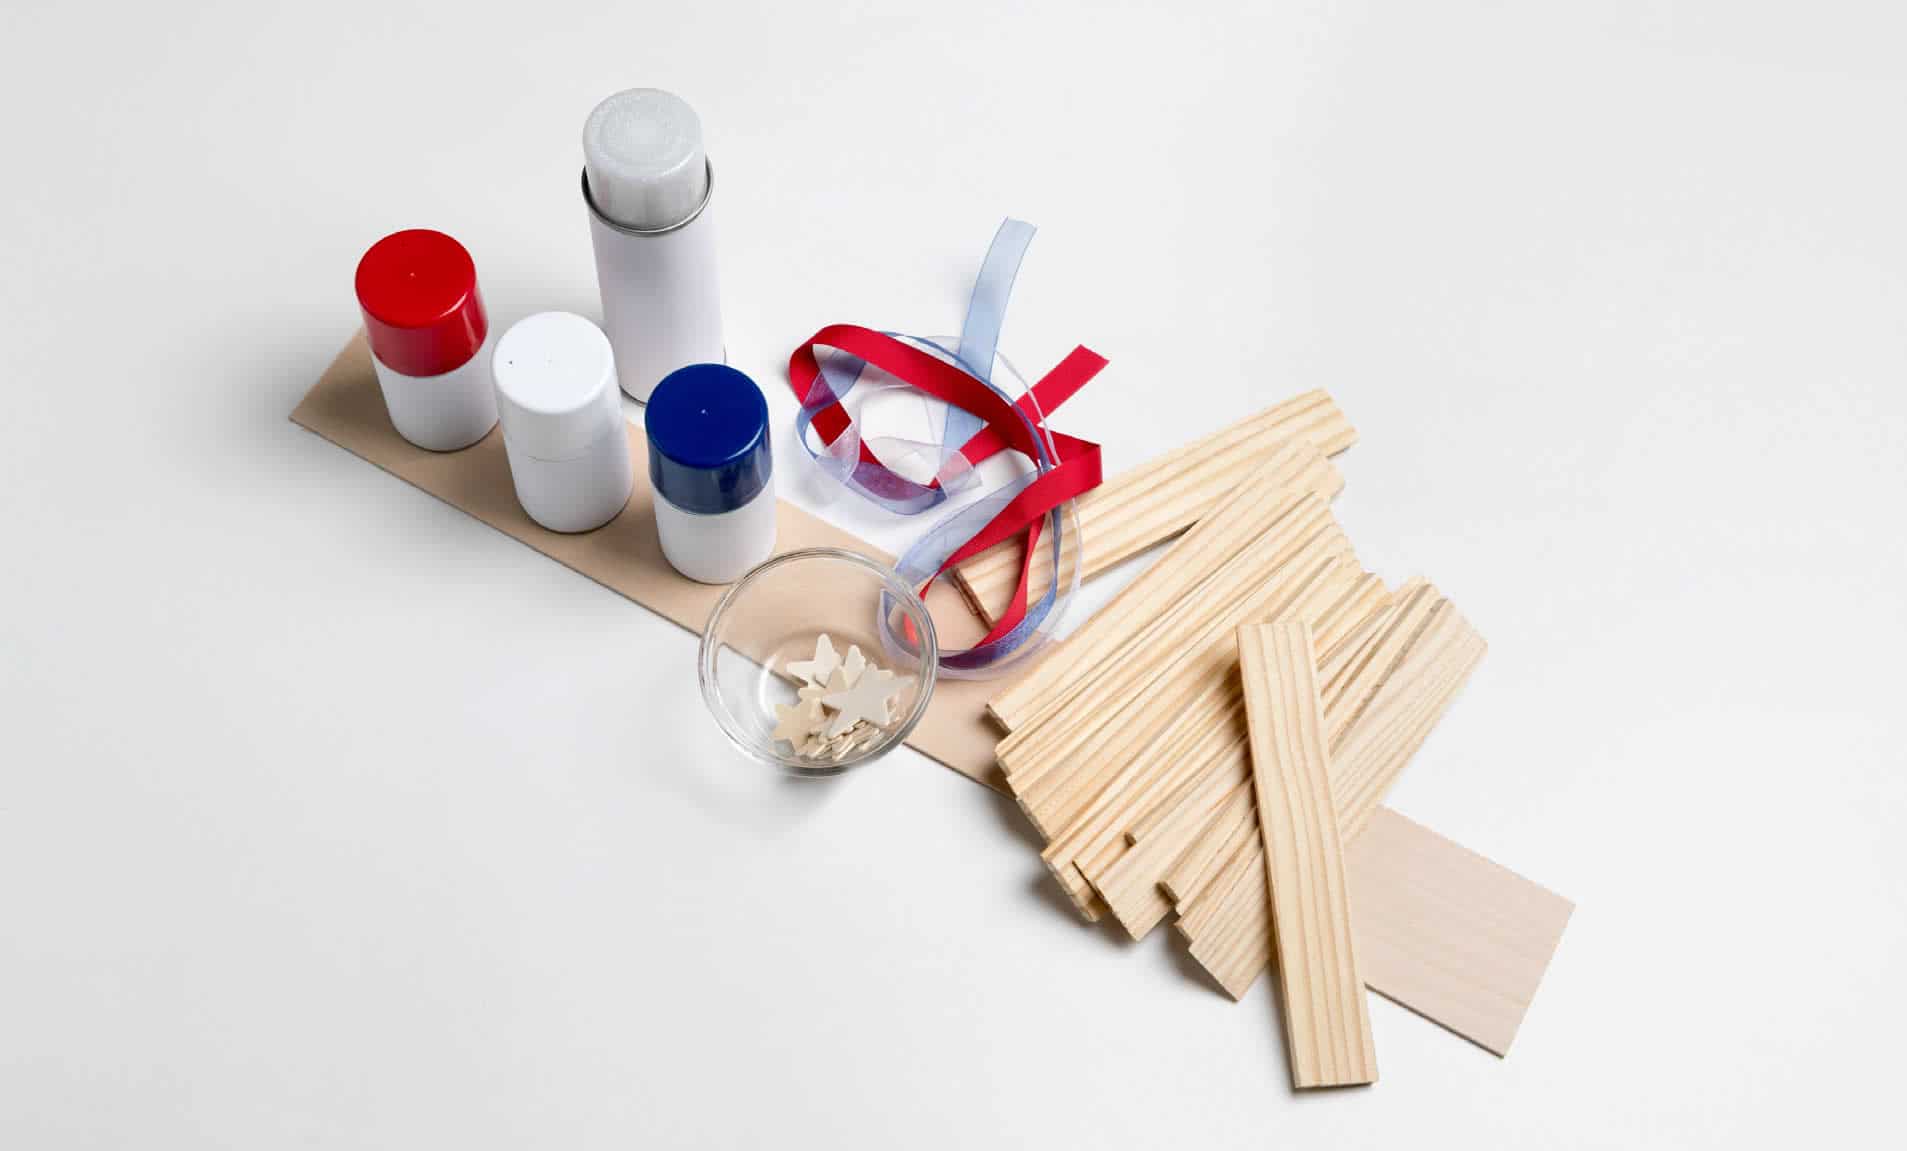
18 wood shims
1 piece of Basswood ~ 1/8” x 3” x 24”
13 wooden stars/various sizes or all the same size
Ribbon ~ red/white/blue ~ 20” each color
Paint ~ red/white/blue/clear sparkle (optional)
START BUILDING
STEP 1
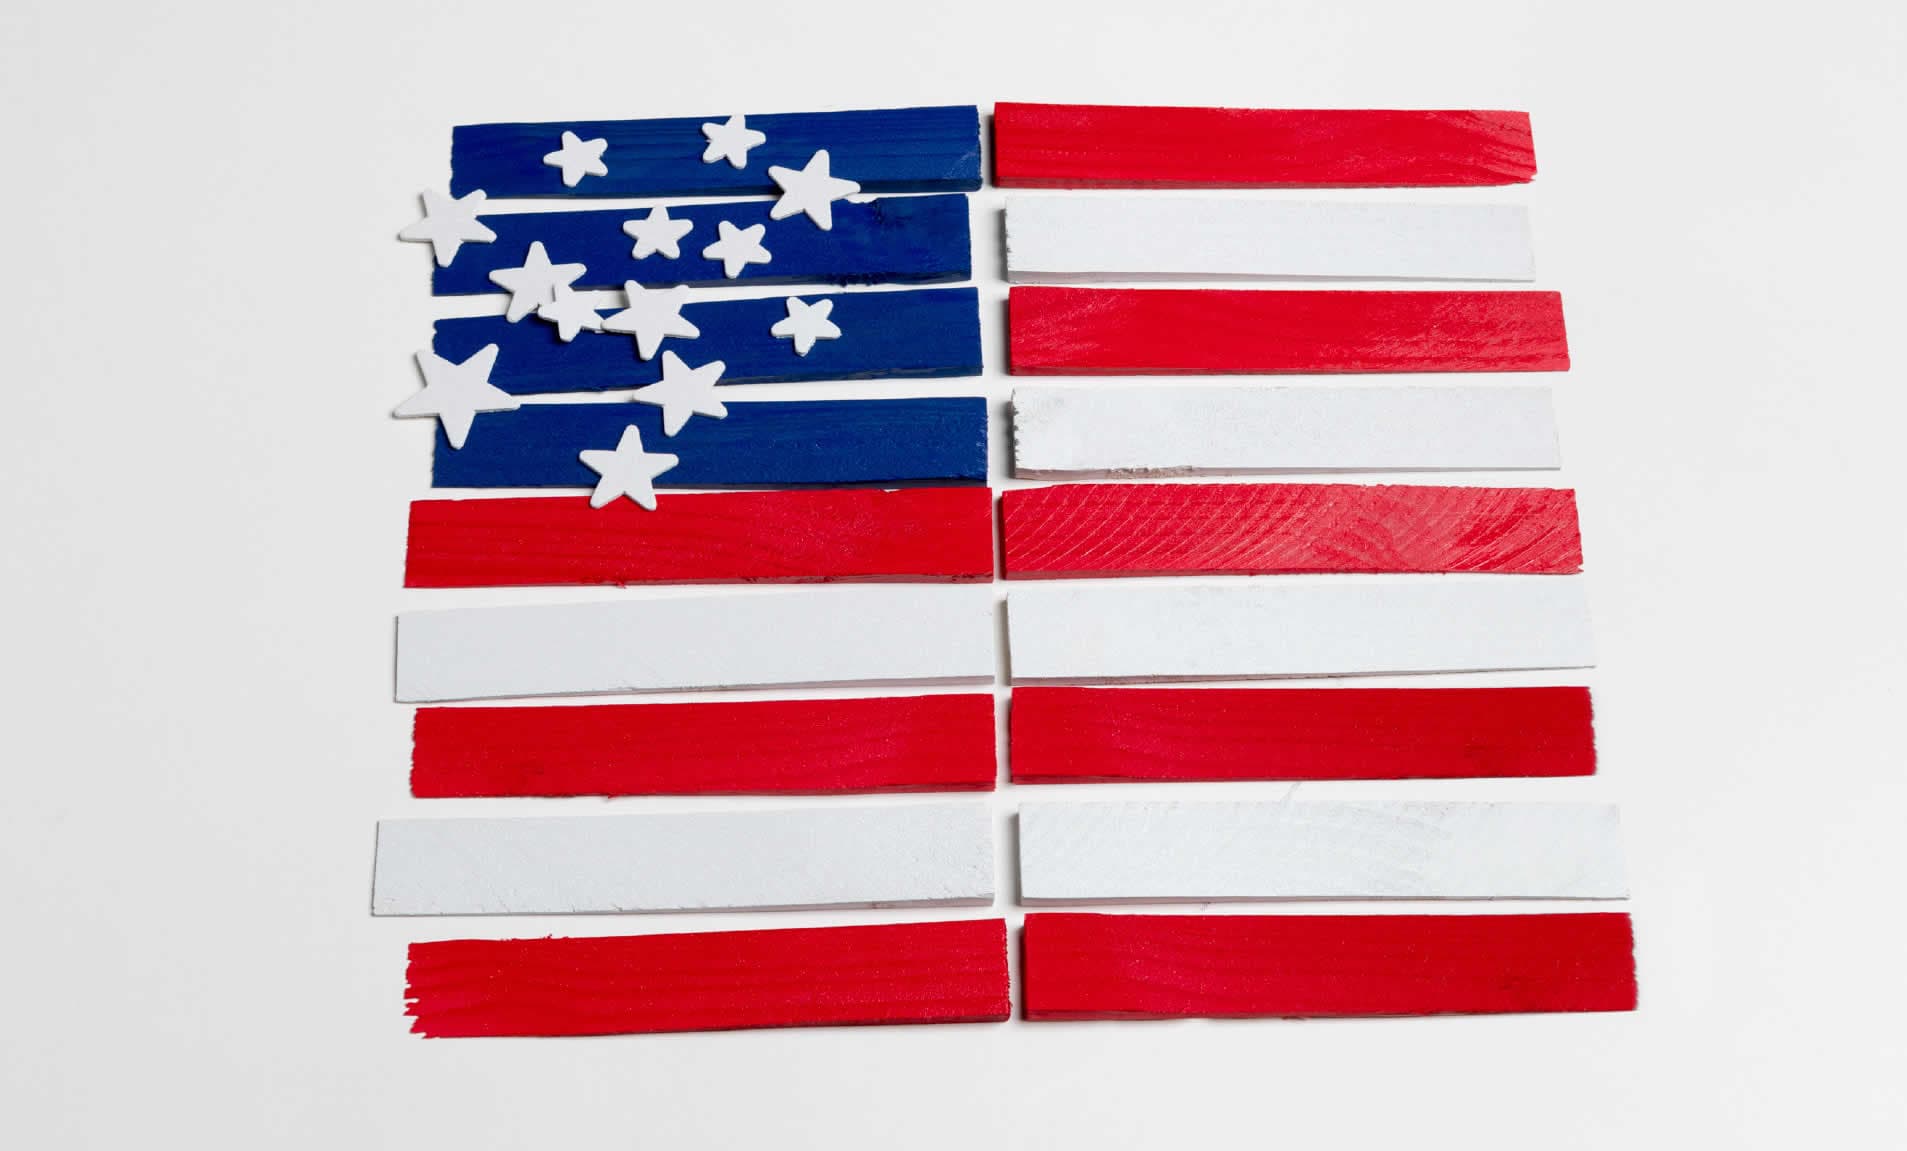
Paint Wood Shims:
4 – Blue
8 – Red
6 – White
(Last coat of White Paint with Clear Sparkle is optional)
Paint Wood Stars:
13 – White
(Last coat of White Paint with Clear Sparkle is optional)
Allow to dry, repeat if necessary.
STEP 2
Once the shims have completely dried, arrange them in the shape of the flag. Be sure to have all the thick ends of the shims facing the center of the flag. Set it aside.
STEP 3
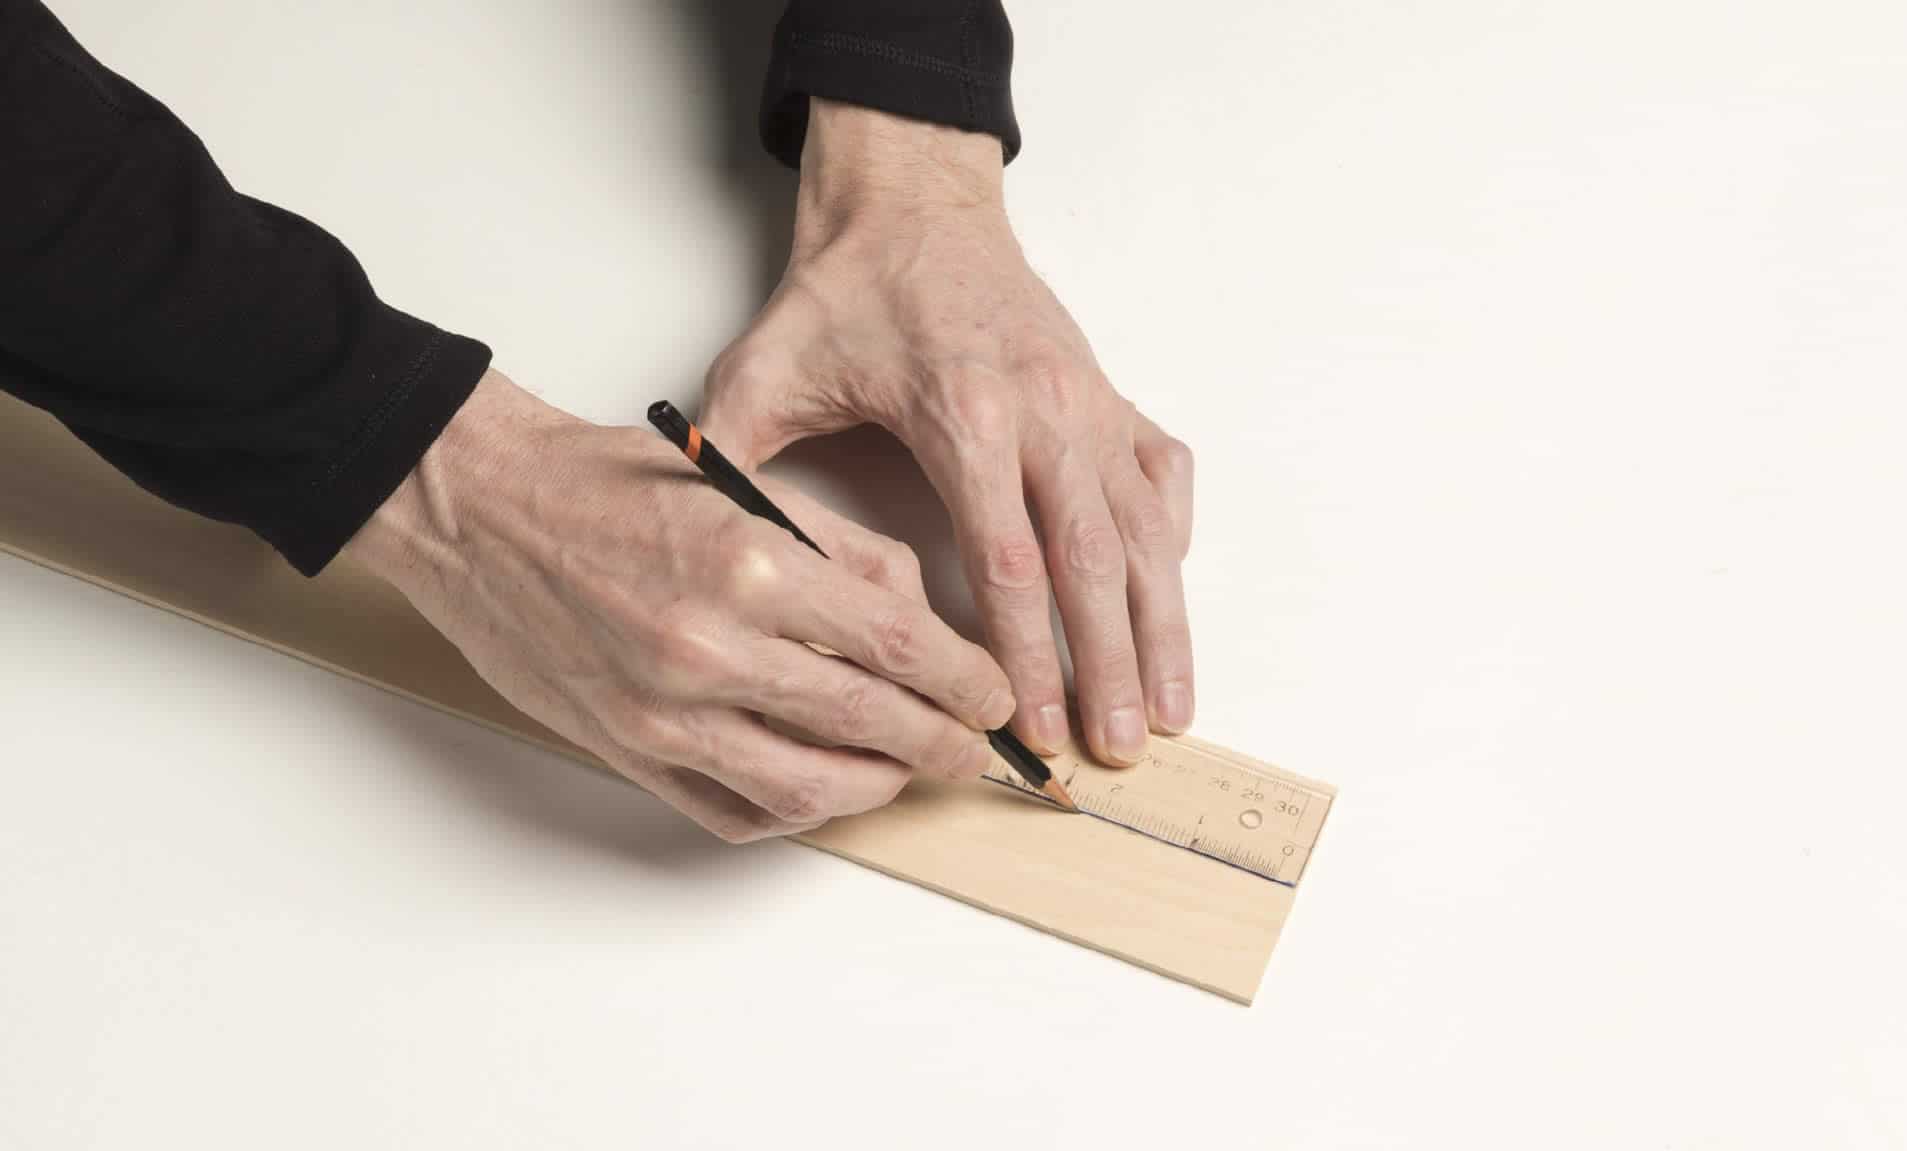
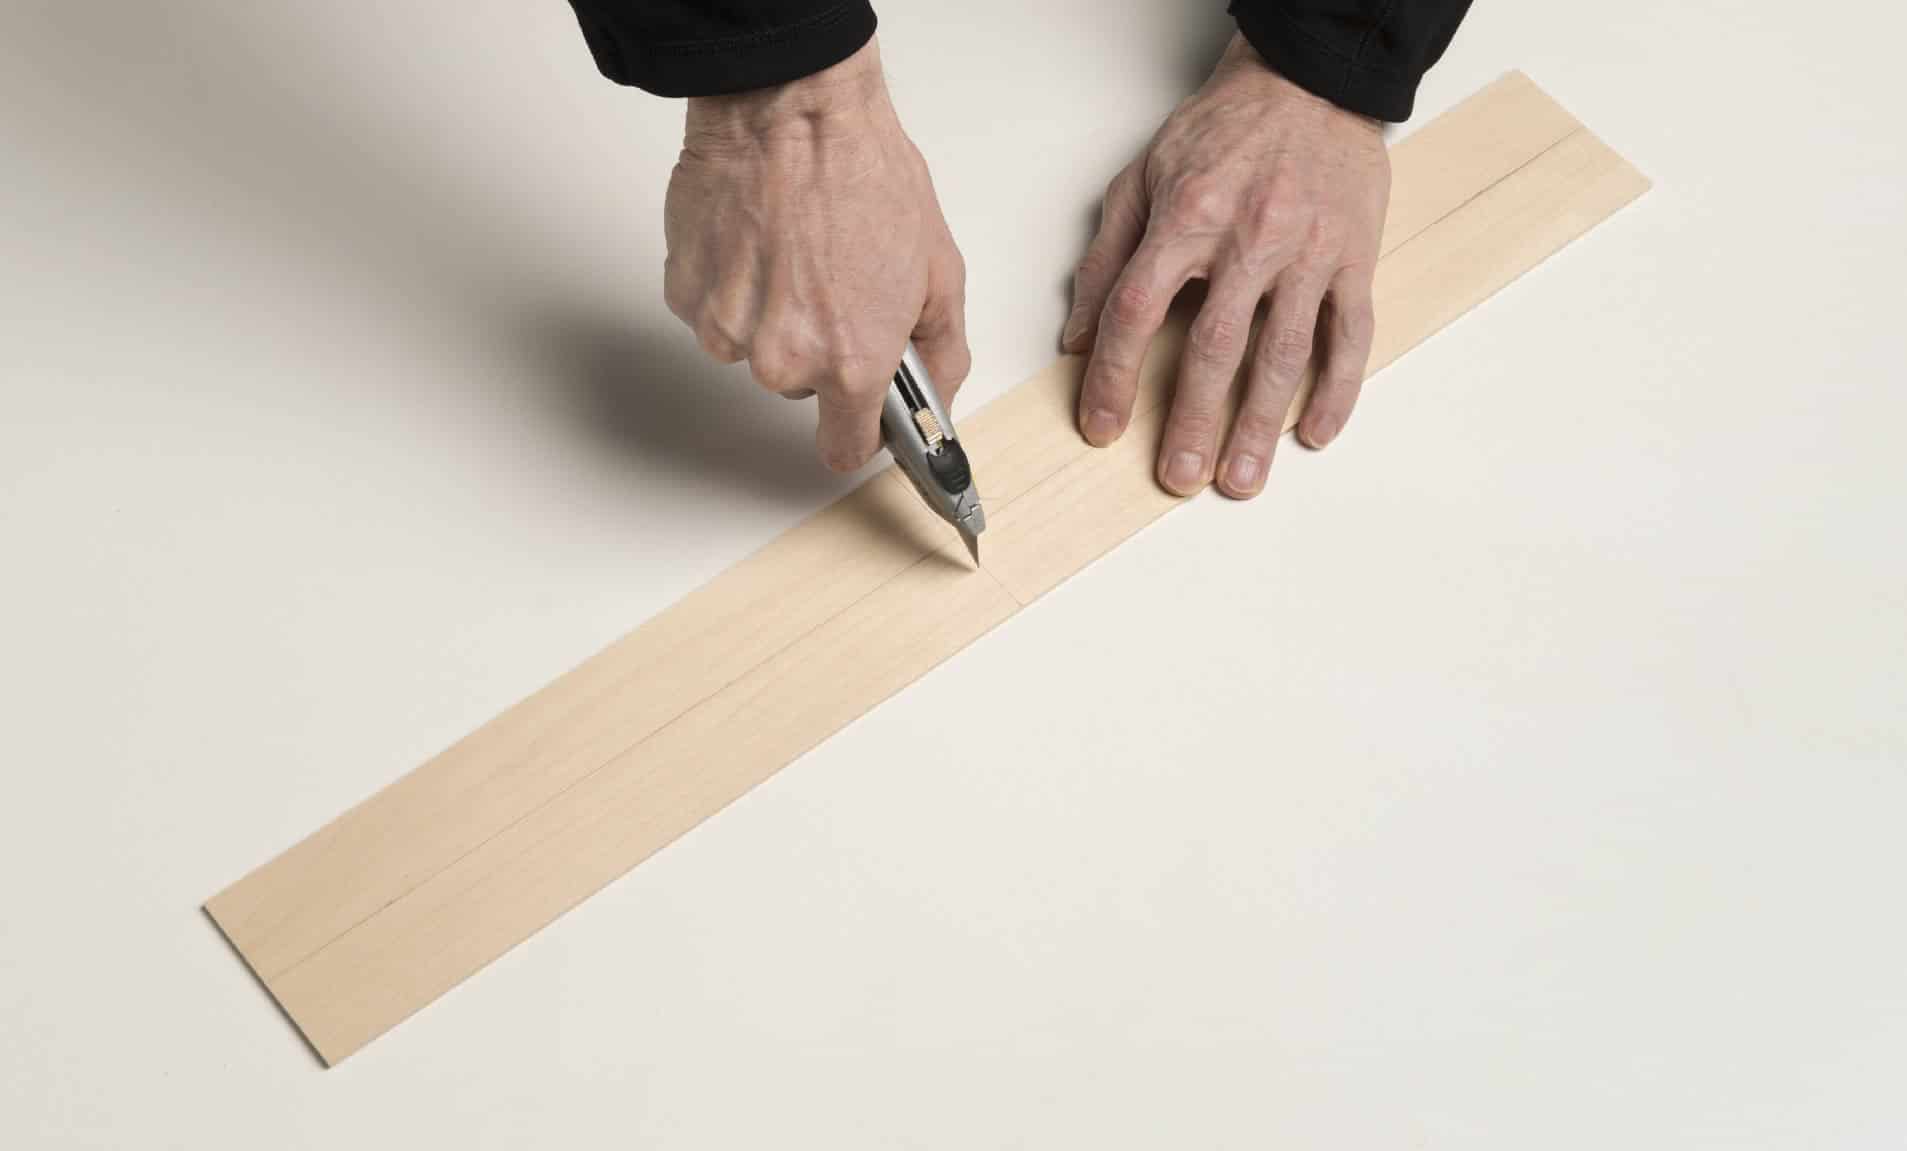
Take the piece of Basswood and draw a line straight down the center with the pencil and the ruler. This line will assist when attaching to the back of the wood shims.
STEP 4
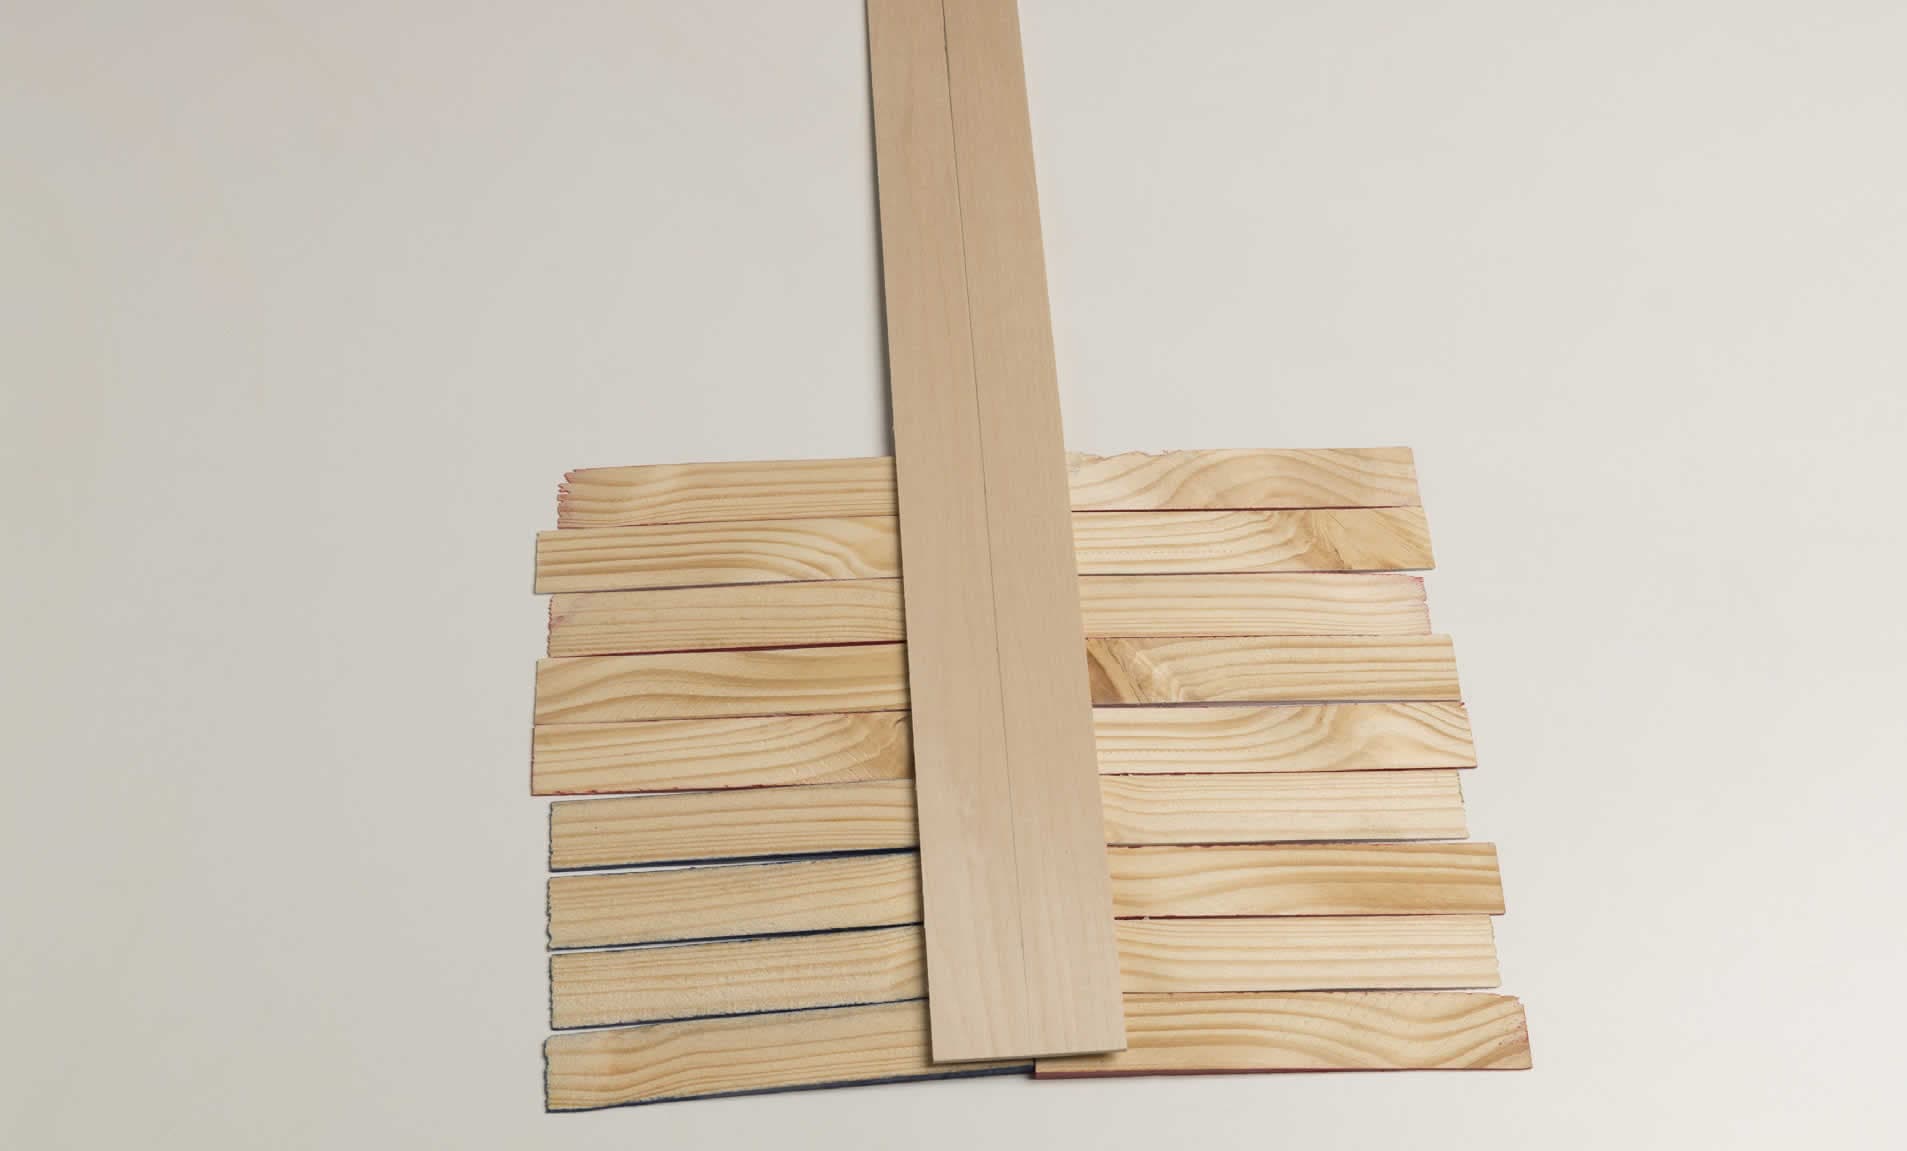
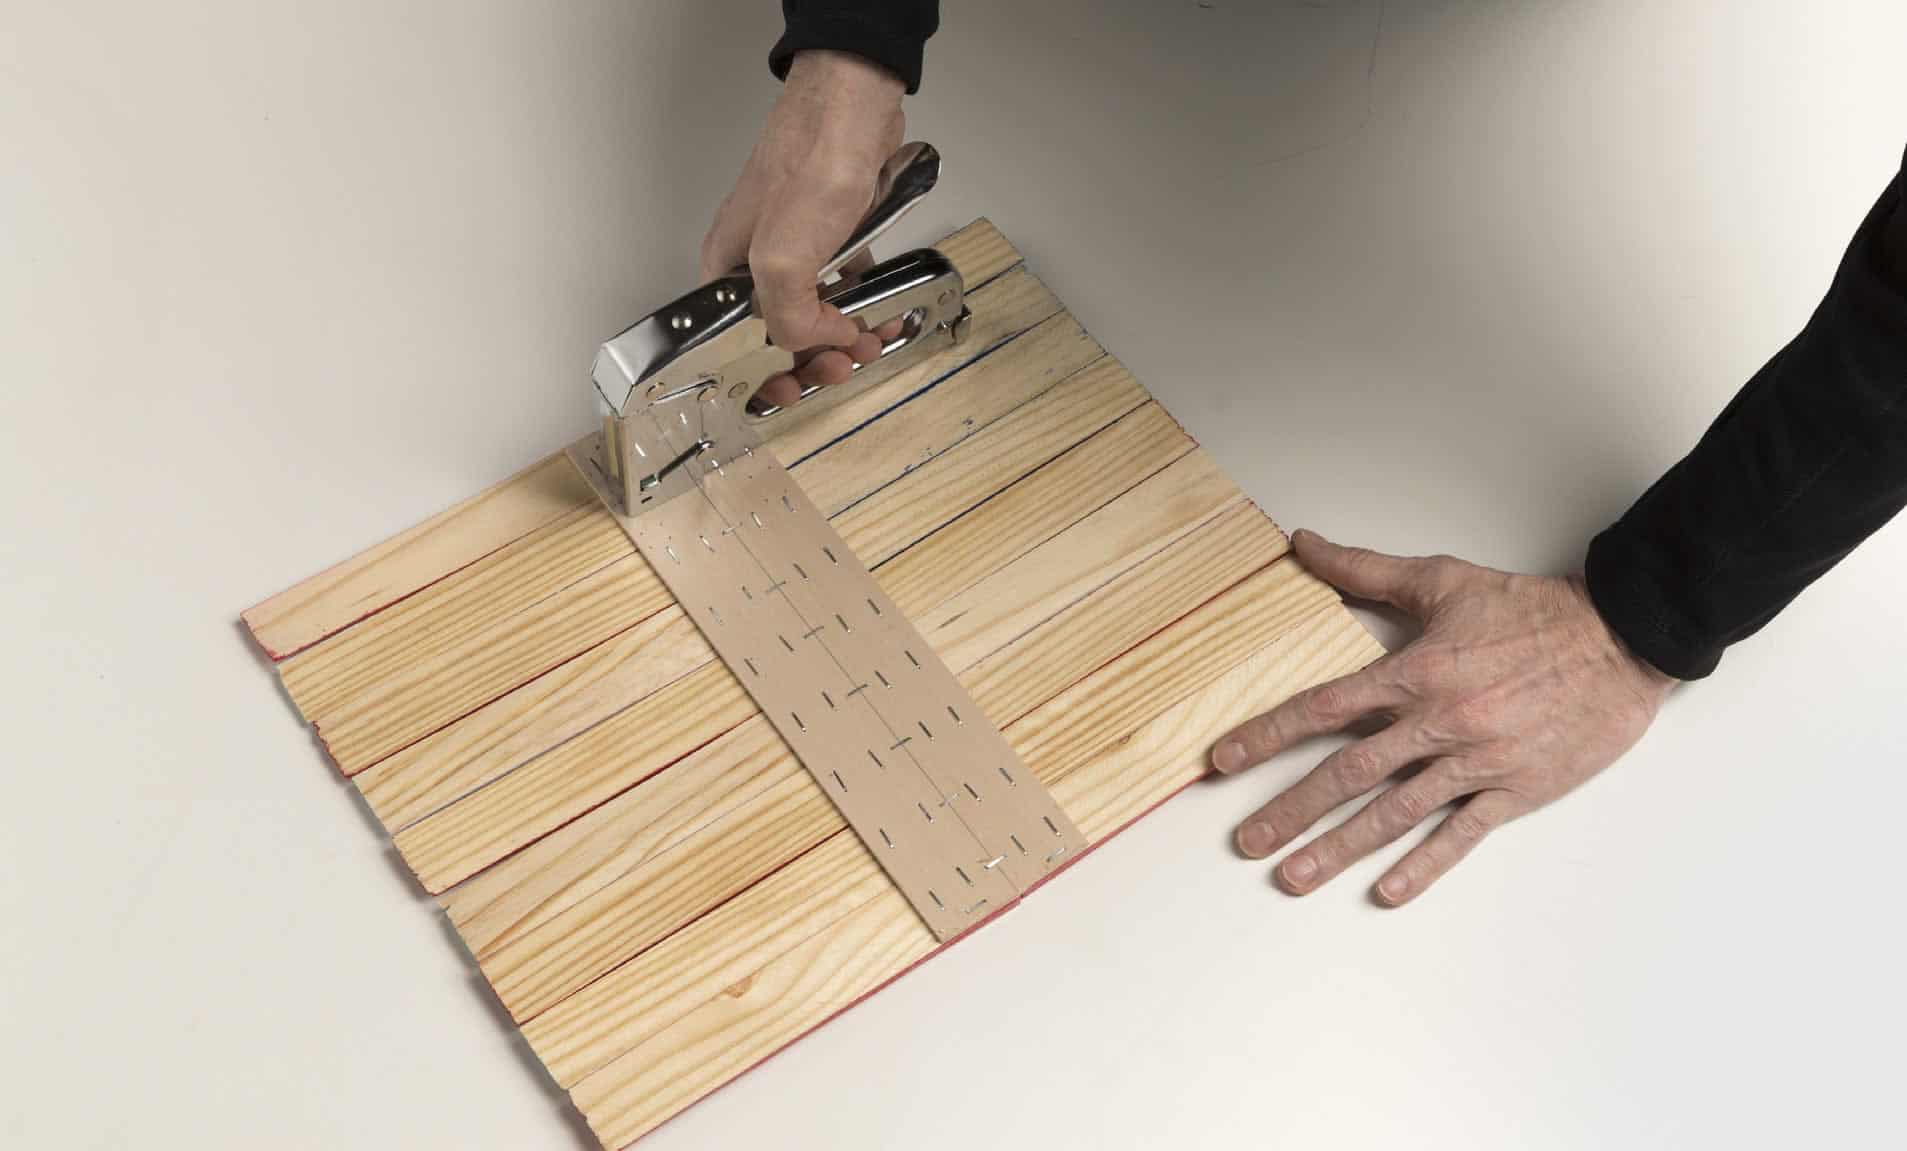
Flip the wood shims over so the back side is facing up. Place the piece of Basswood on top of the wood shims. Use the line drawn in previous step to line up the Basswood with the center of the wood shims.
NOTE:
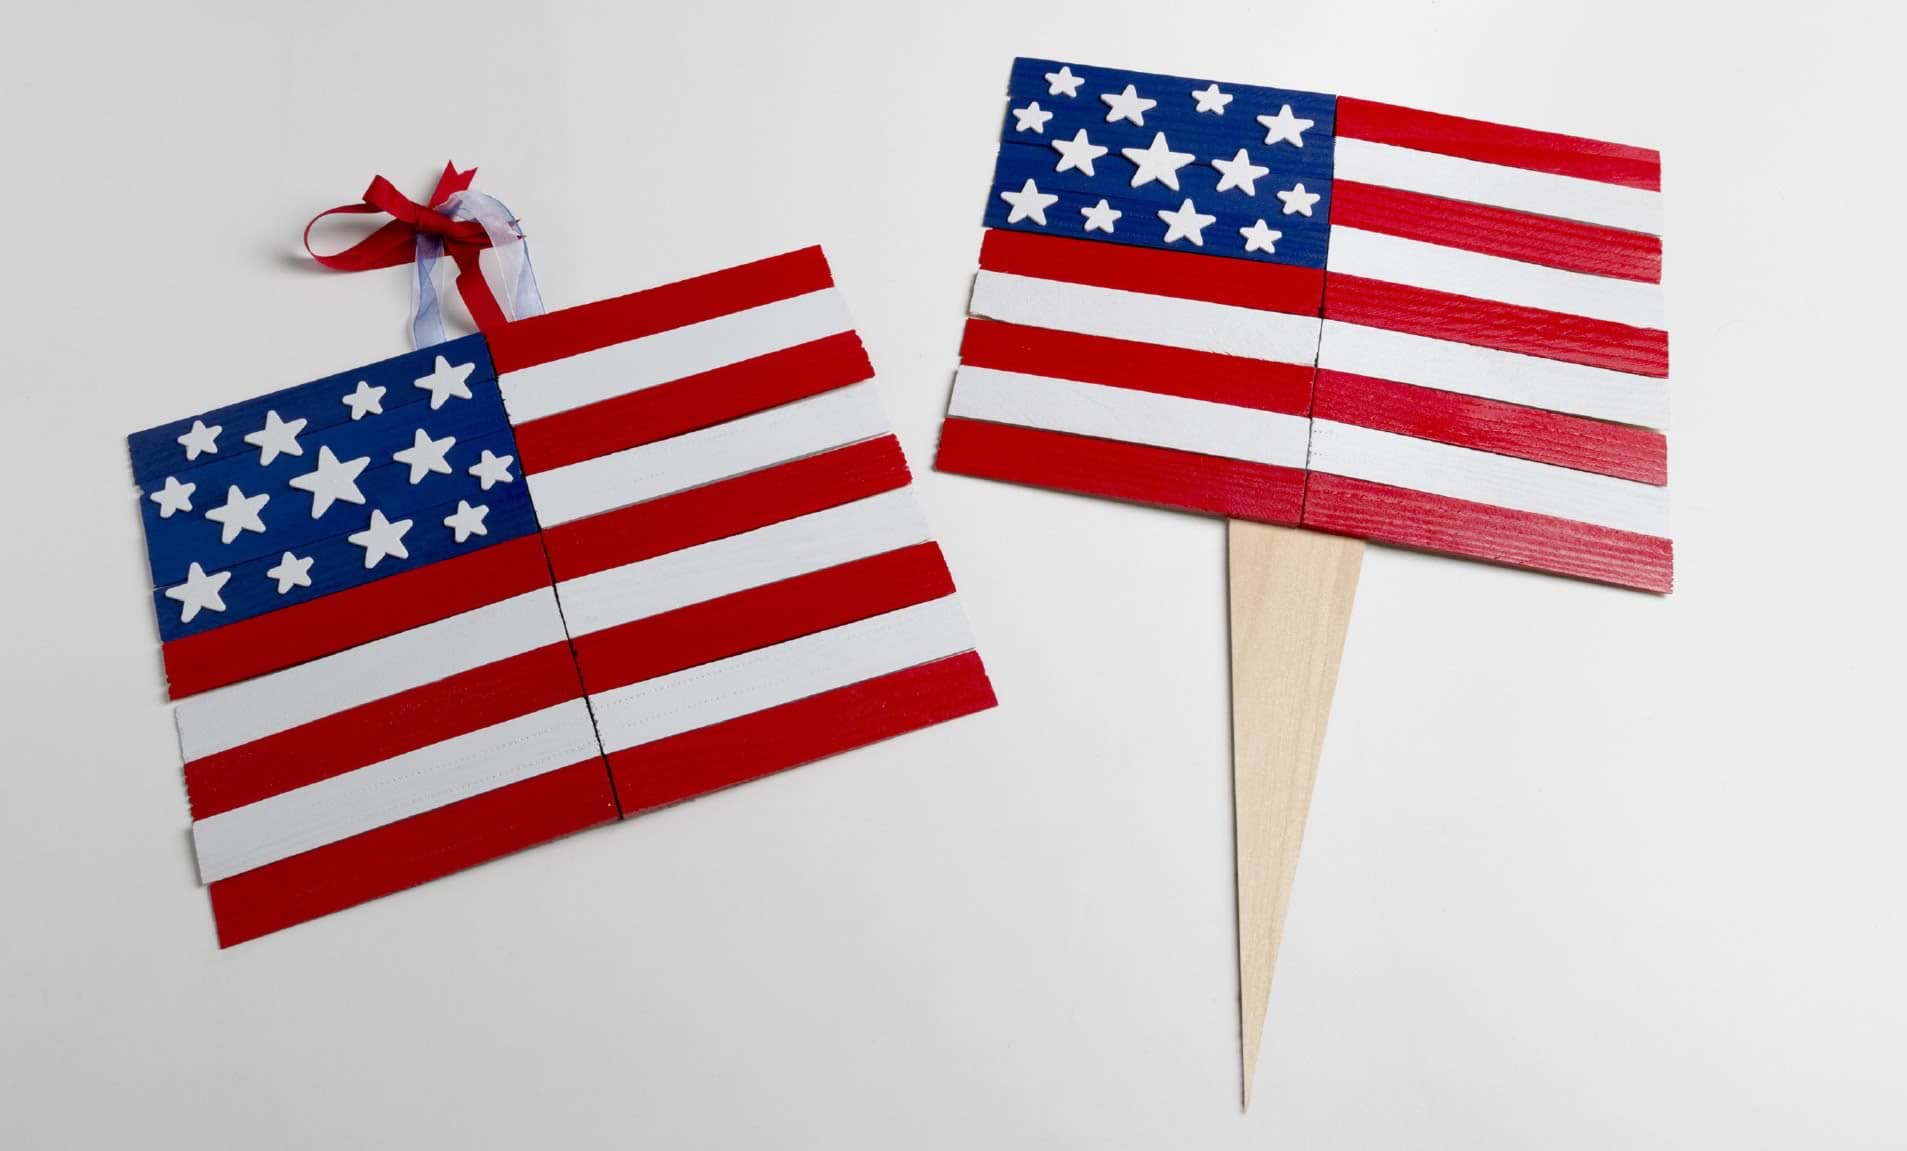
For a hanging flag: Cut the Basswood to 12”
For a staked flag: Place the Basswood flush at the top of the flag and leave the remaining Basswood extend beyond the bottom of the flag.
Secure Basswood to wood shims using the Arrow T50 Heavy Duty Staple Gun and 3/8” staples.
STEP 5
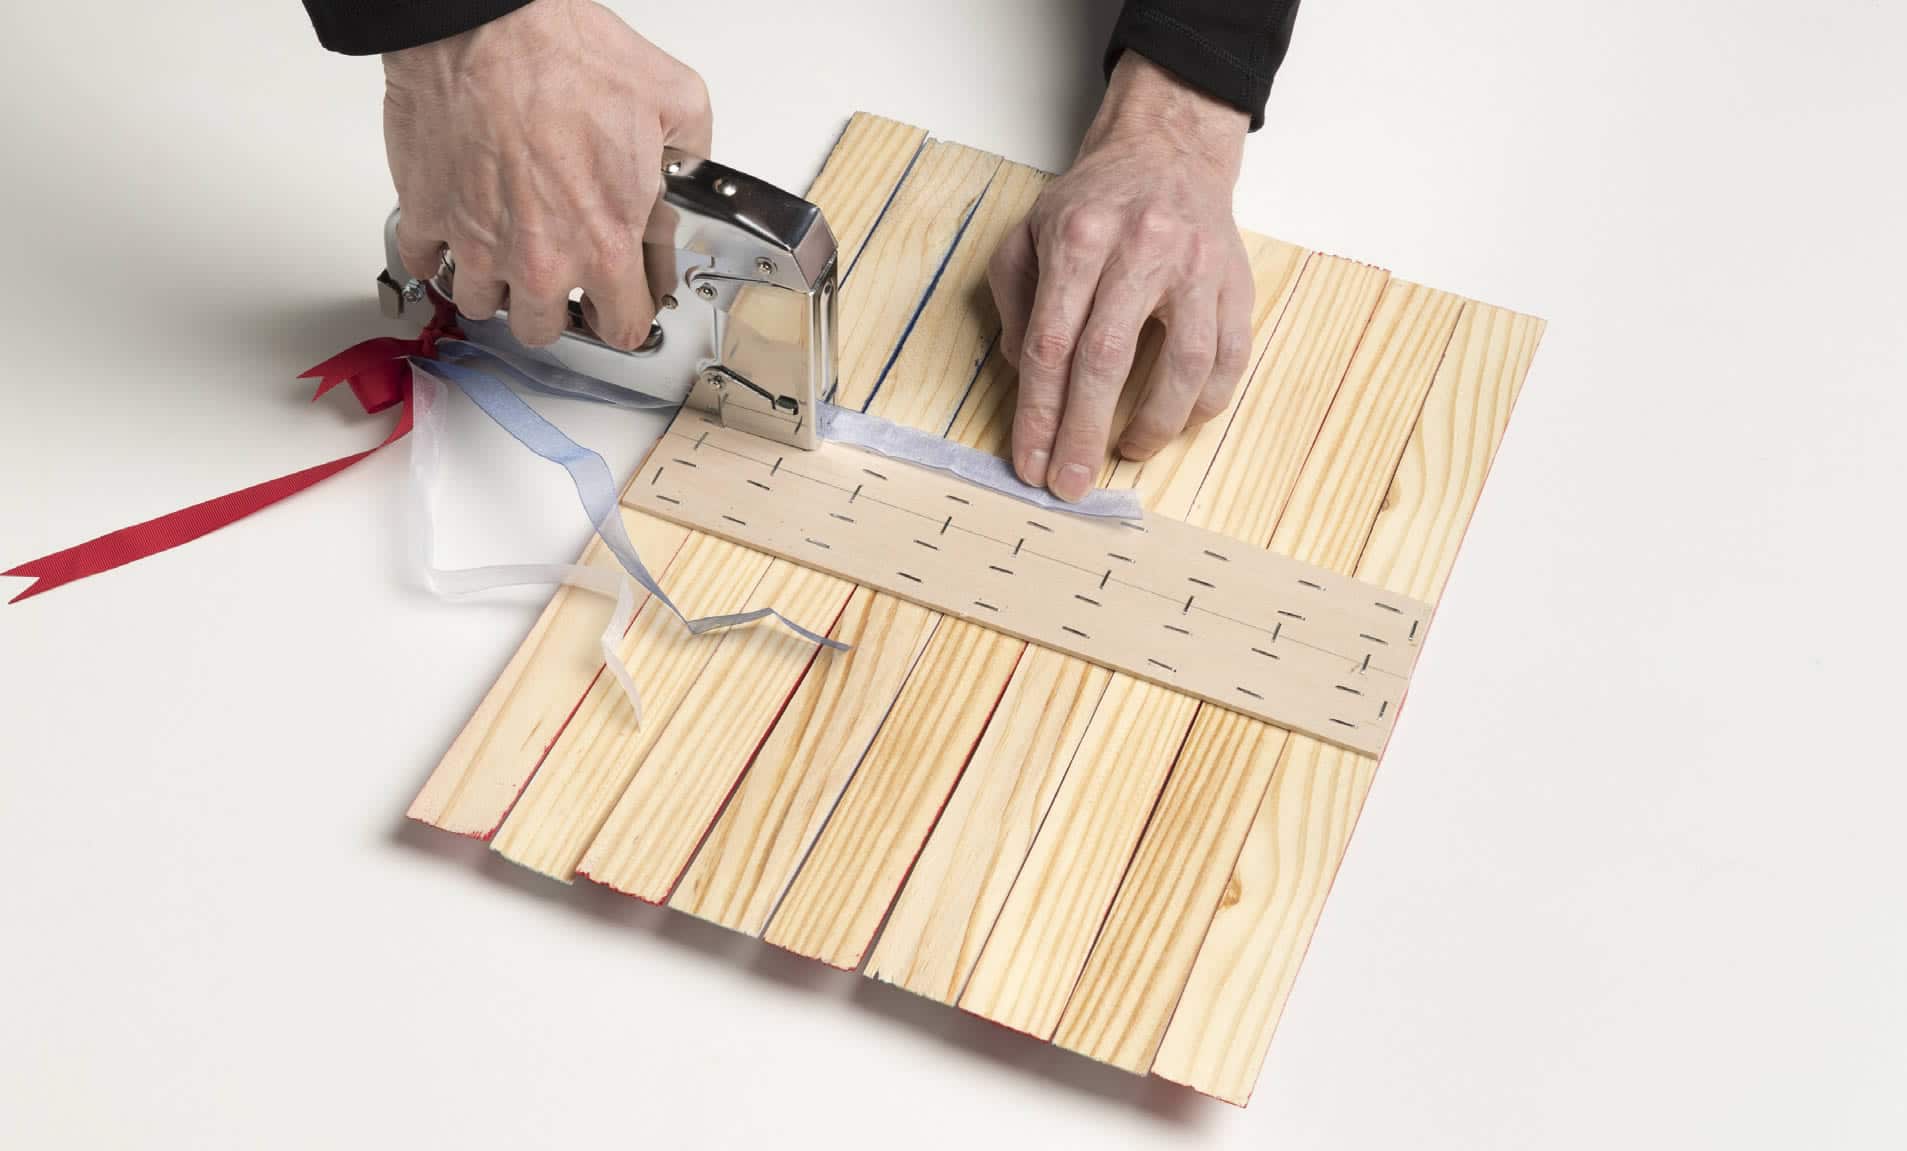
For a hanging flag: Cut ribbon and staple to the back of the flag.
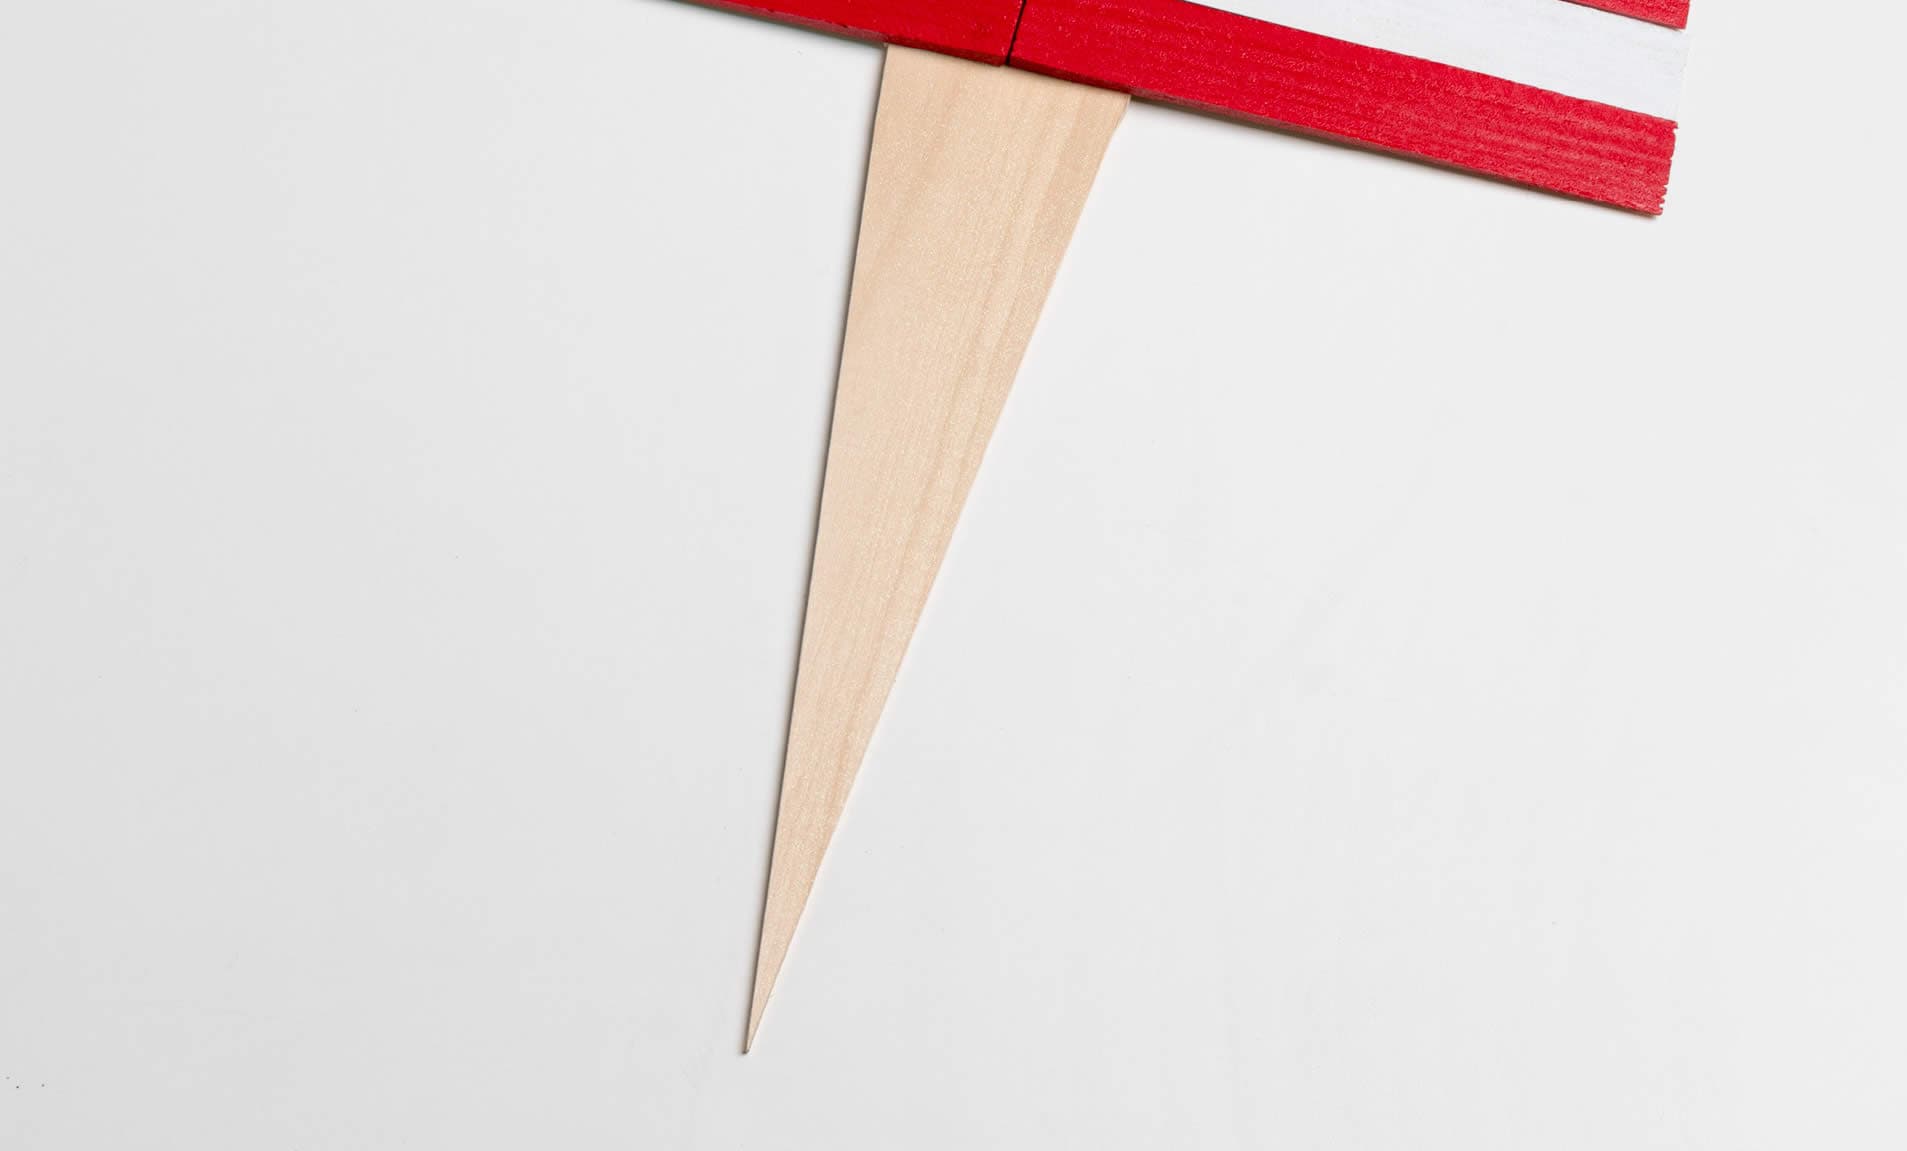
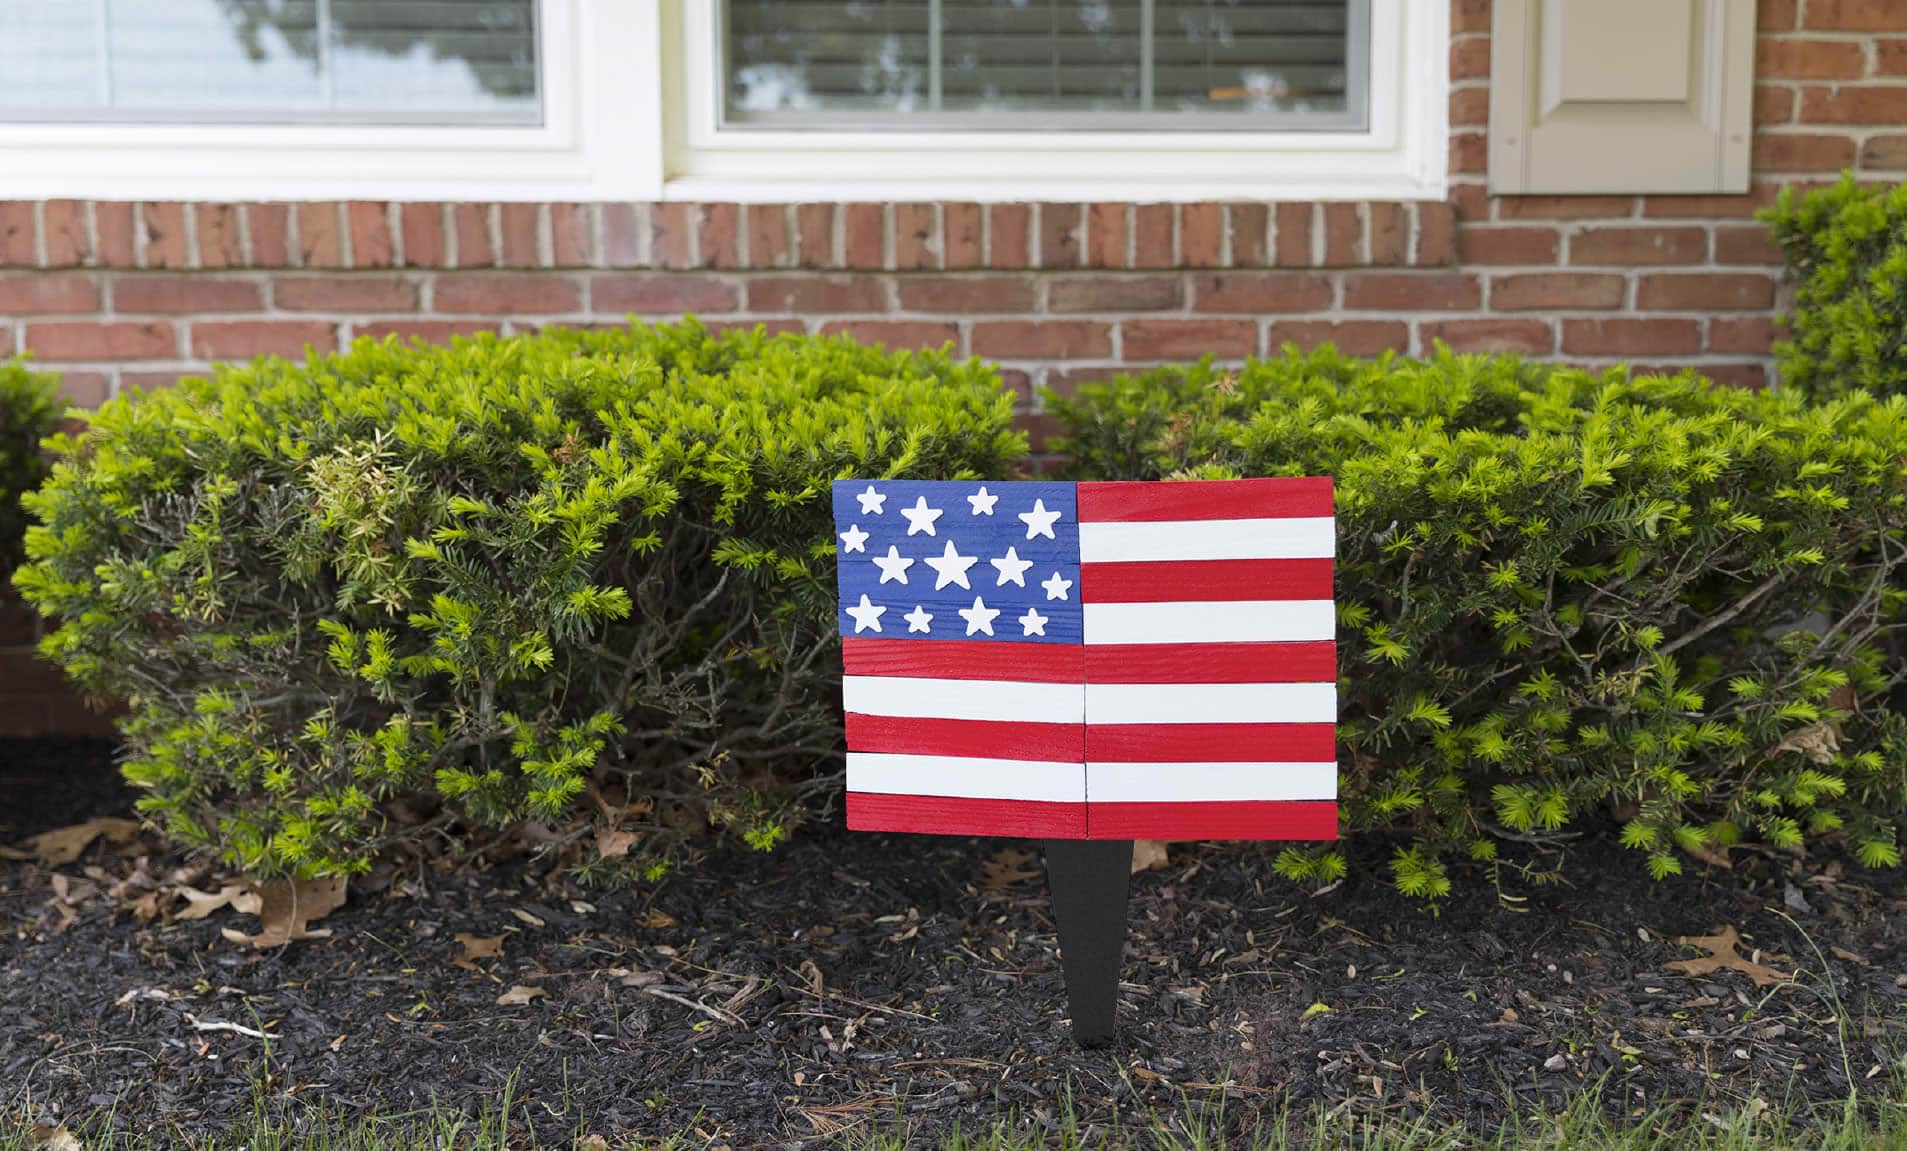
For a staked flag: Trim sides of Basswood at an angle to create a spike. You may paint this to blend in with your landscaping if desired.
STEP 6
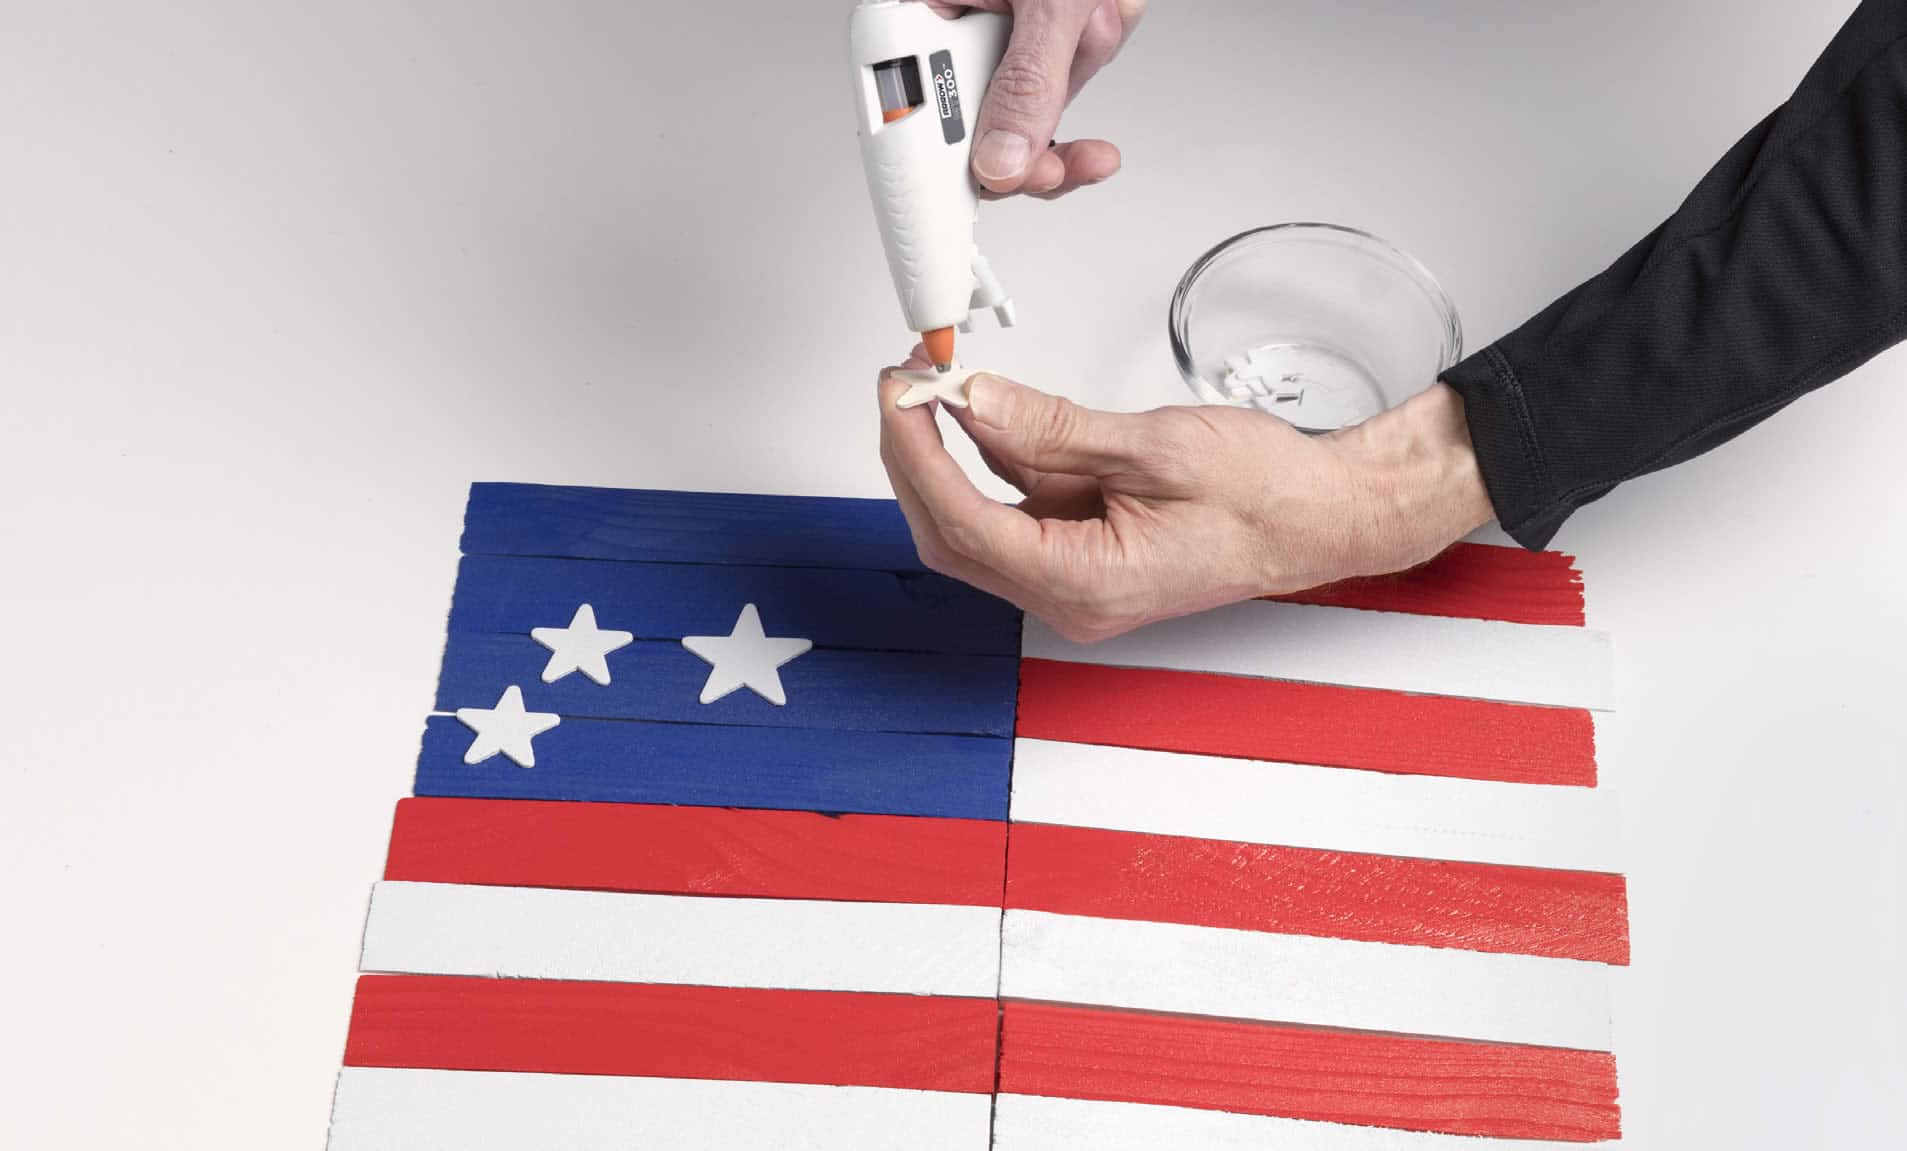
Flip flag over and secure stars over the blue section of the flag using the Arrow MT300 Glue Gun
STEP 7
Now you’re ready to enjoy your flag. Hang from a wall or your front door or place in your garden bed or flower pot.
FINISHED PRODUCT
BEFORE
AFTER
We’d love to see how your DIY Patriotic Flag project turned out! Share your results with us on Facebook, Instagram or X by tagging #MadeWithArrow.
%20(Instagram%20Post%20(45))%20(1).svg)
%20(Instagram%20Post%20(45))%20(2).svg)


.svg)
.svg)