.svg)
.svg)
DIY: SHRUB PROTECTOR PROJECT

GETTING STARTED
Winter is coming. Is your yard ready? Lucky for you, this DIY shrub protector project is a much simpler task than covering your pool for the season. And your foliage will be safe from the snow and ice! So grab your Arrow PT18G pneumatic brad nailer and let’s get started.
YOU WILL NEED
OTHER TOOLS
Drill and drill bit
Saw
Sanding block
Pencil
MATERIALS
Five 1″ x 4″ x 8′ boards
Two hinges with screws
START BUILDING
STEP 1
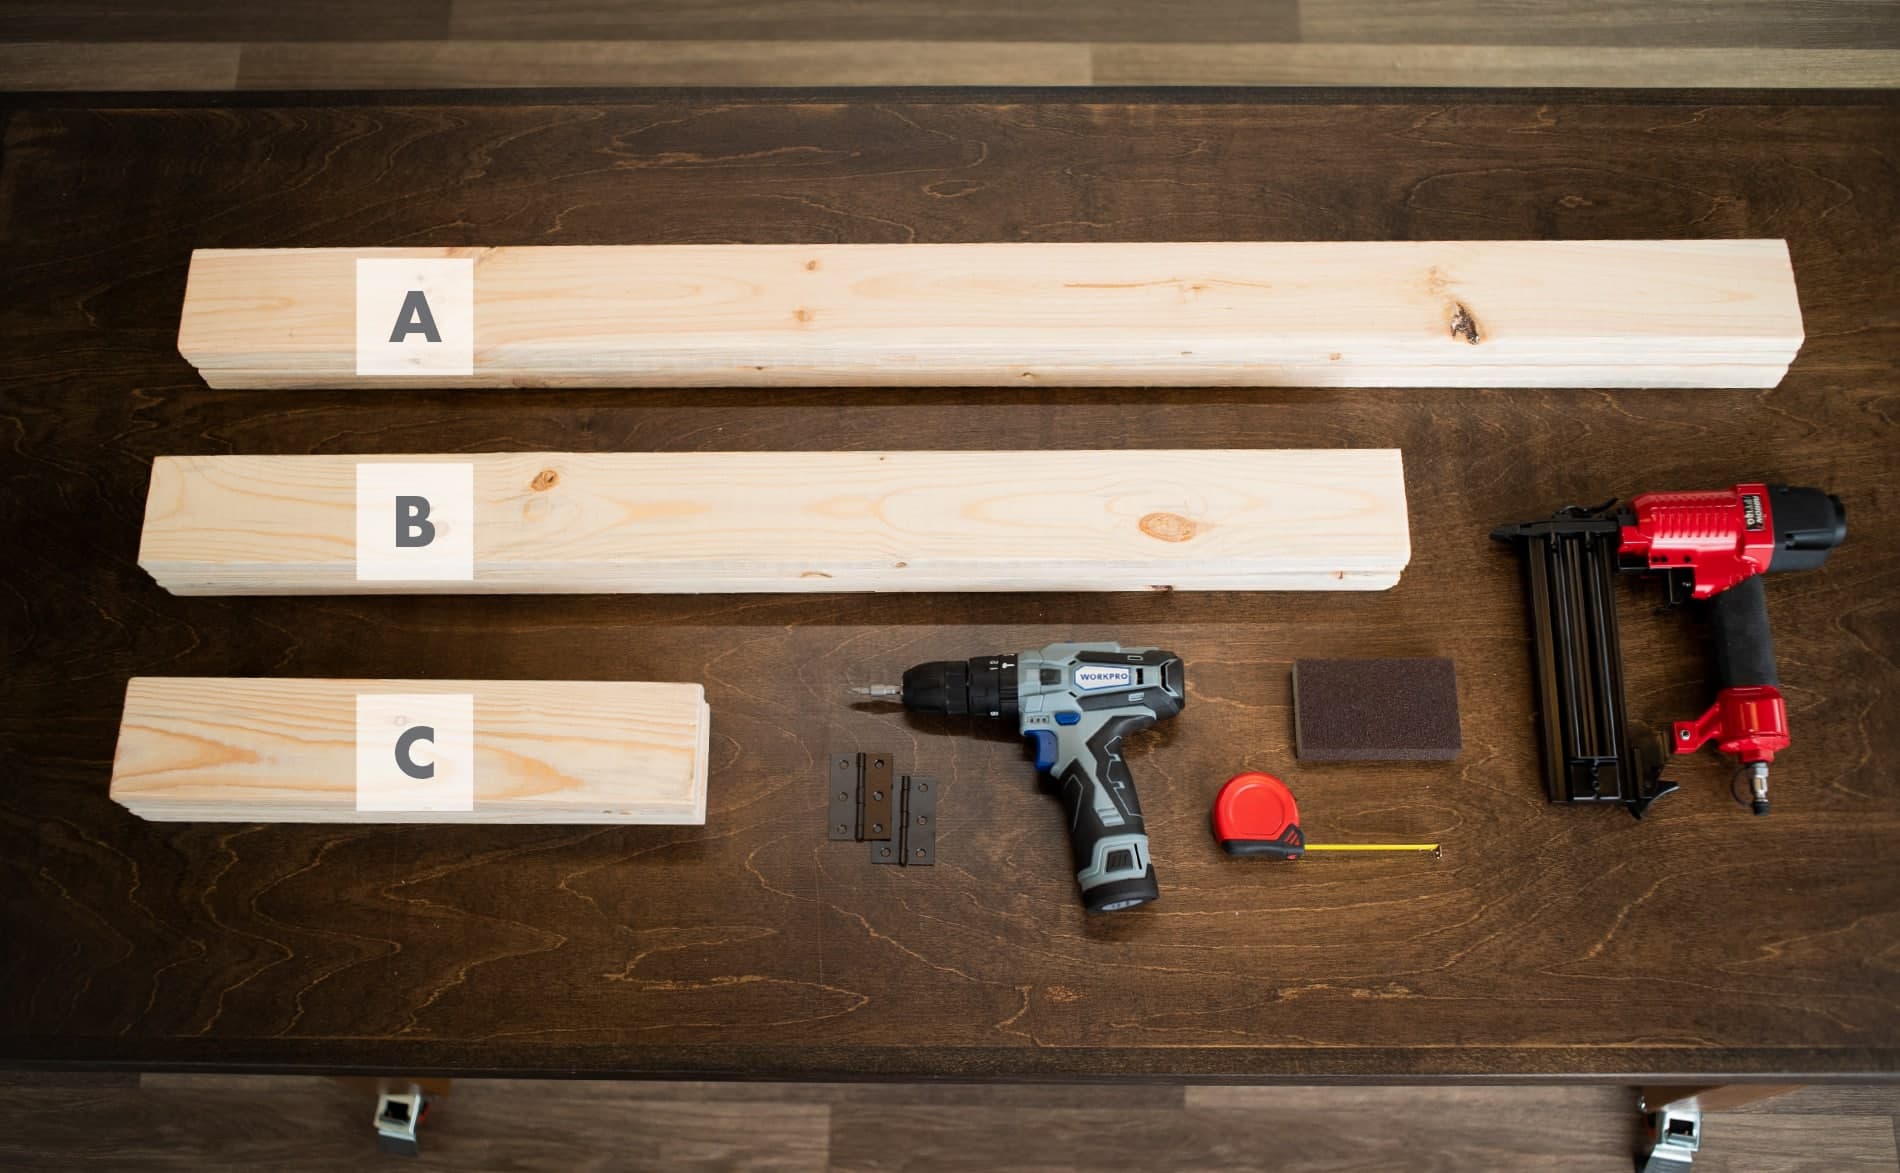
First, cut down your 1″ x 4″ boards into the following lengths and quantities:
(A): Four 4′ pieces
(B): Four 3′ pieces
(C): Four 16″ pieces
Or you can make your shrub protectors any size you’d like using a similar ratio. Don’t forget to sand down any rough edges after cutting.
STEP 5
You should now have one completed side that looks like the photo below.
STEP 6
Repeat steps 2 through 4 to create a second unit. Add hinges.
FINISHED PRODUCT
WANT TO BE A FEATURED ARROW BLOGGER?
.jpg&w=3840&q=75)
.jpg&w=3840&q=75)
.jpg&w=3840&q=75)
.jpg&w=3840&q=75)
.jpg&w=3840&q=75)

.jpg&w=3840&q=75)
.jpg&w=3840&q=75)

.jpg&w=3840&q=75)